Table of Contents
Introduction
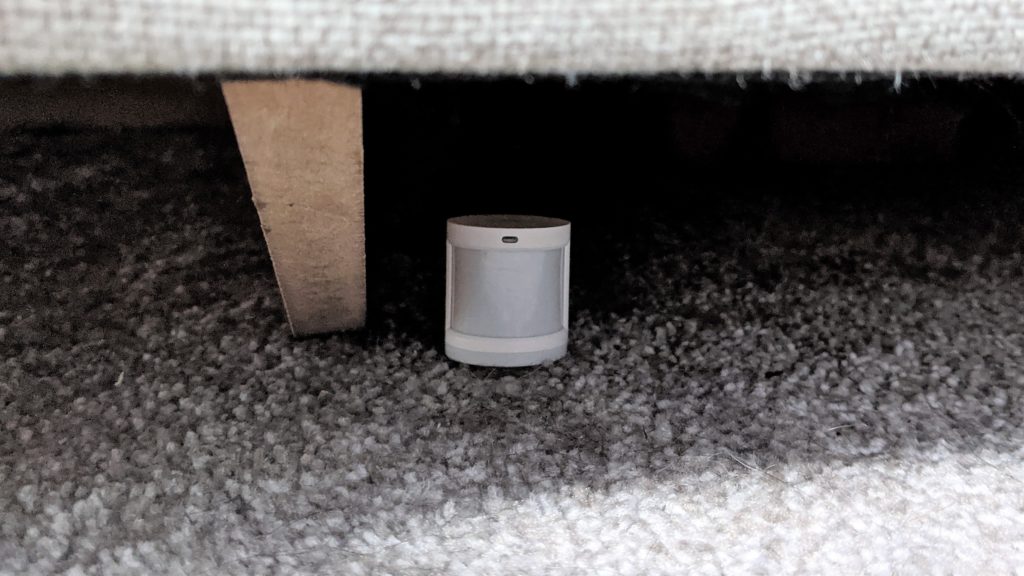
If you are familiar with the Xiaomi Aqara smart home products, you may know of their Zigbee motion sensor. However, the default motion timeout is 90 seconds which, atleast for me, is a little too long. This means, if you trigger the motion sensor, it will not reset until 90 seconds have elapsed. This is a hardware limitation but there’s a small soldering modification you can use to bring the timeout down to around 5 seconds. This is really useful if you are using the sensor for under-bed LEDs which act as a night light like I am.
After we bridge 2 terminals on the main PCB, it will cause the device to continiously restart (once every 5 seconds-ish) which is ideal because upon every restart, the sensor checks the state of motion right away.
Note: This will cause the motion sensor to use more battery than usual, but my sensor that has this modification is still going strong after 1 year.
Performing the modification
We will go over every step from taking off the battery cover, identifying the terminals and then soldering the wire. Let’s begin.


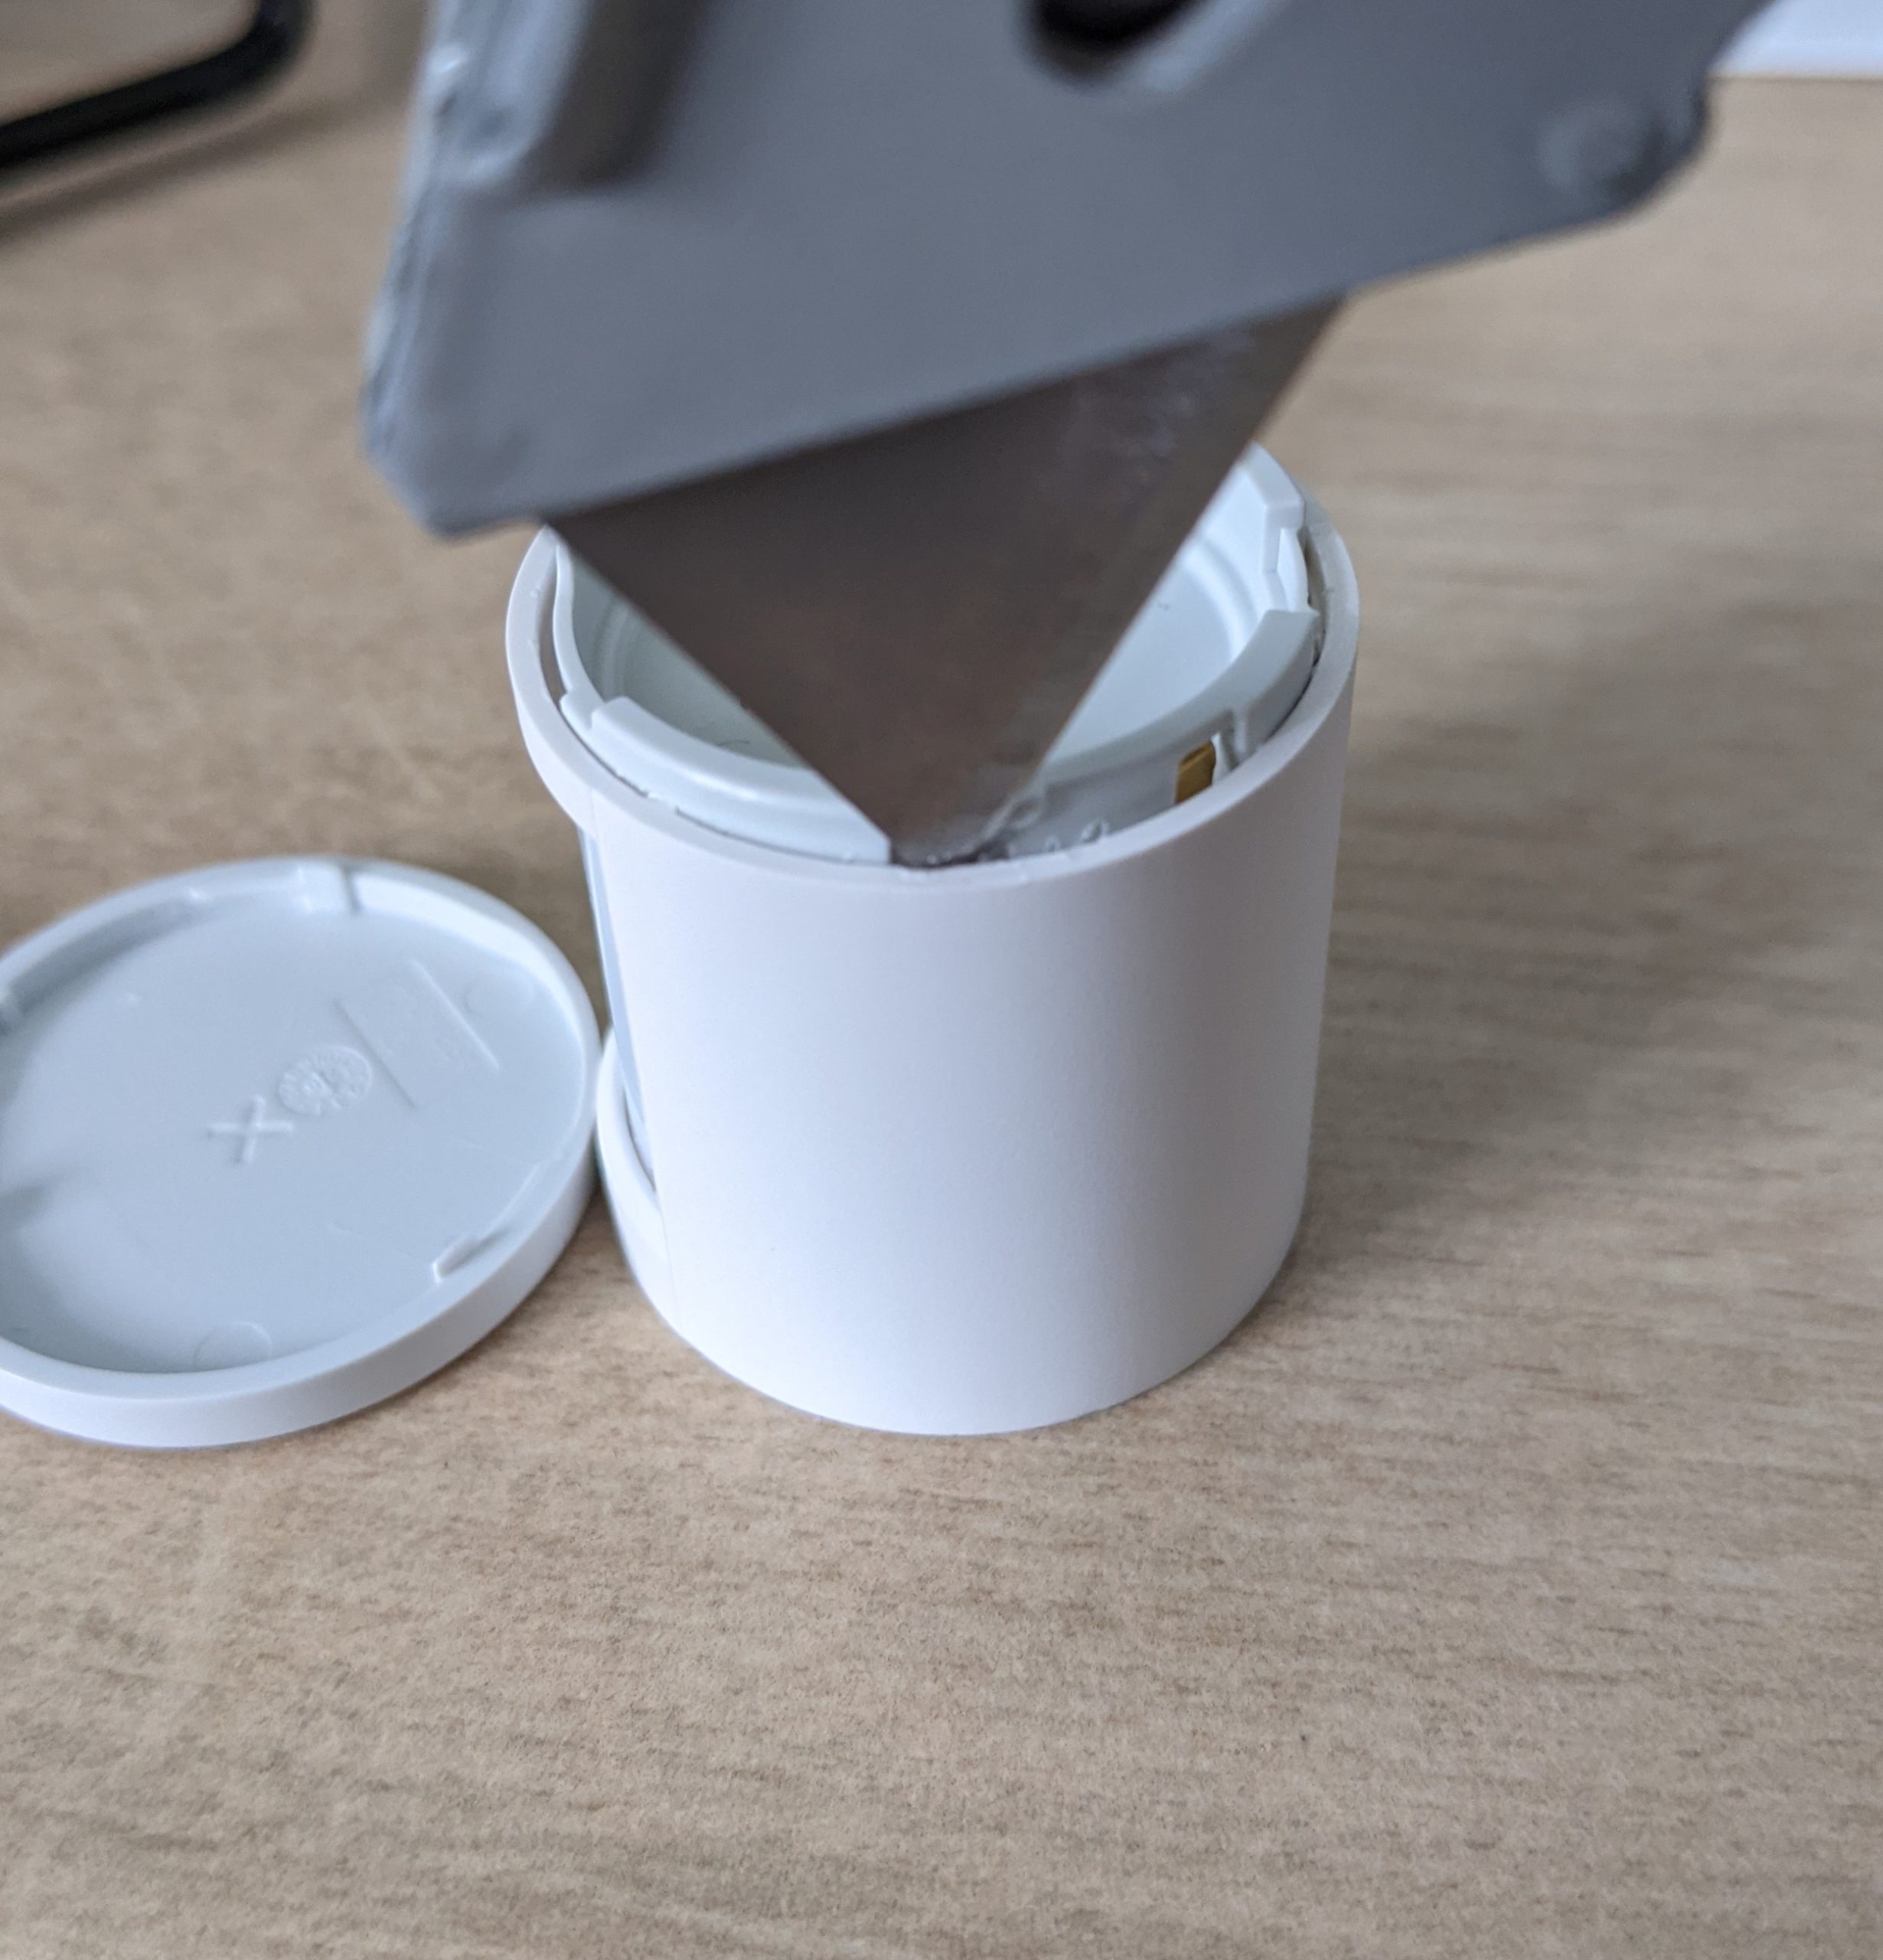
Taking off the battery cover
If you flip the motion sensor so that the bottom is facing up, you can twist the bottom peice anti-clockwise and pull off the battery cover.
You will then see the CR2450 battery. Just lift that off and pop that to the side
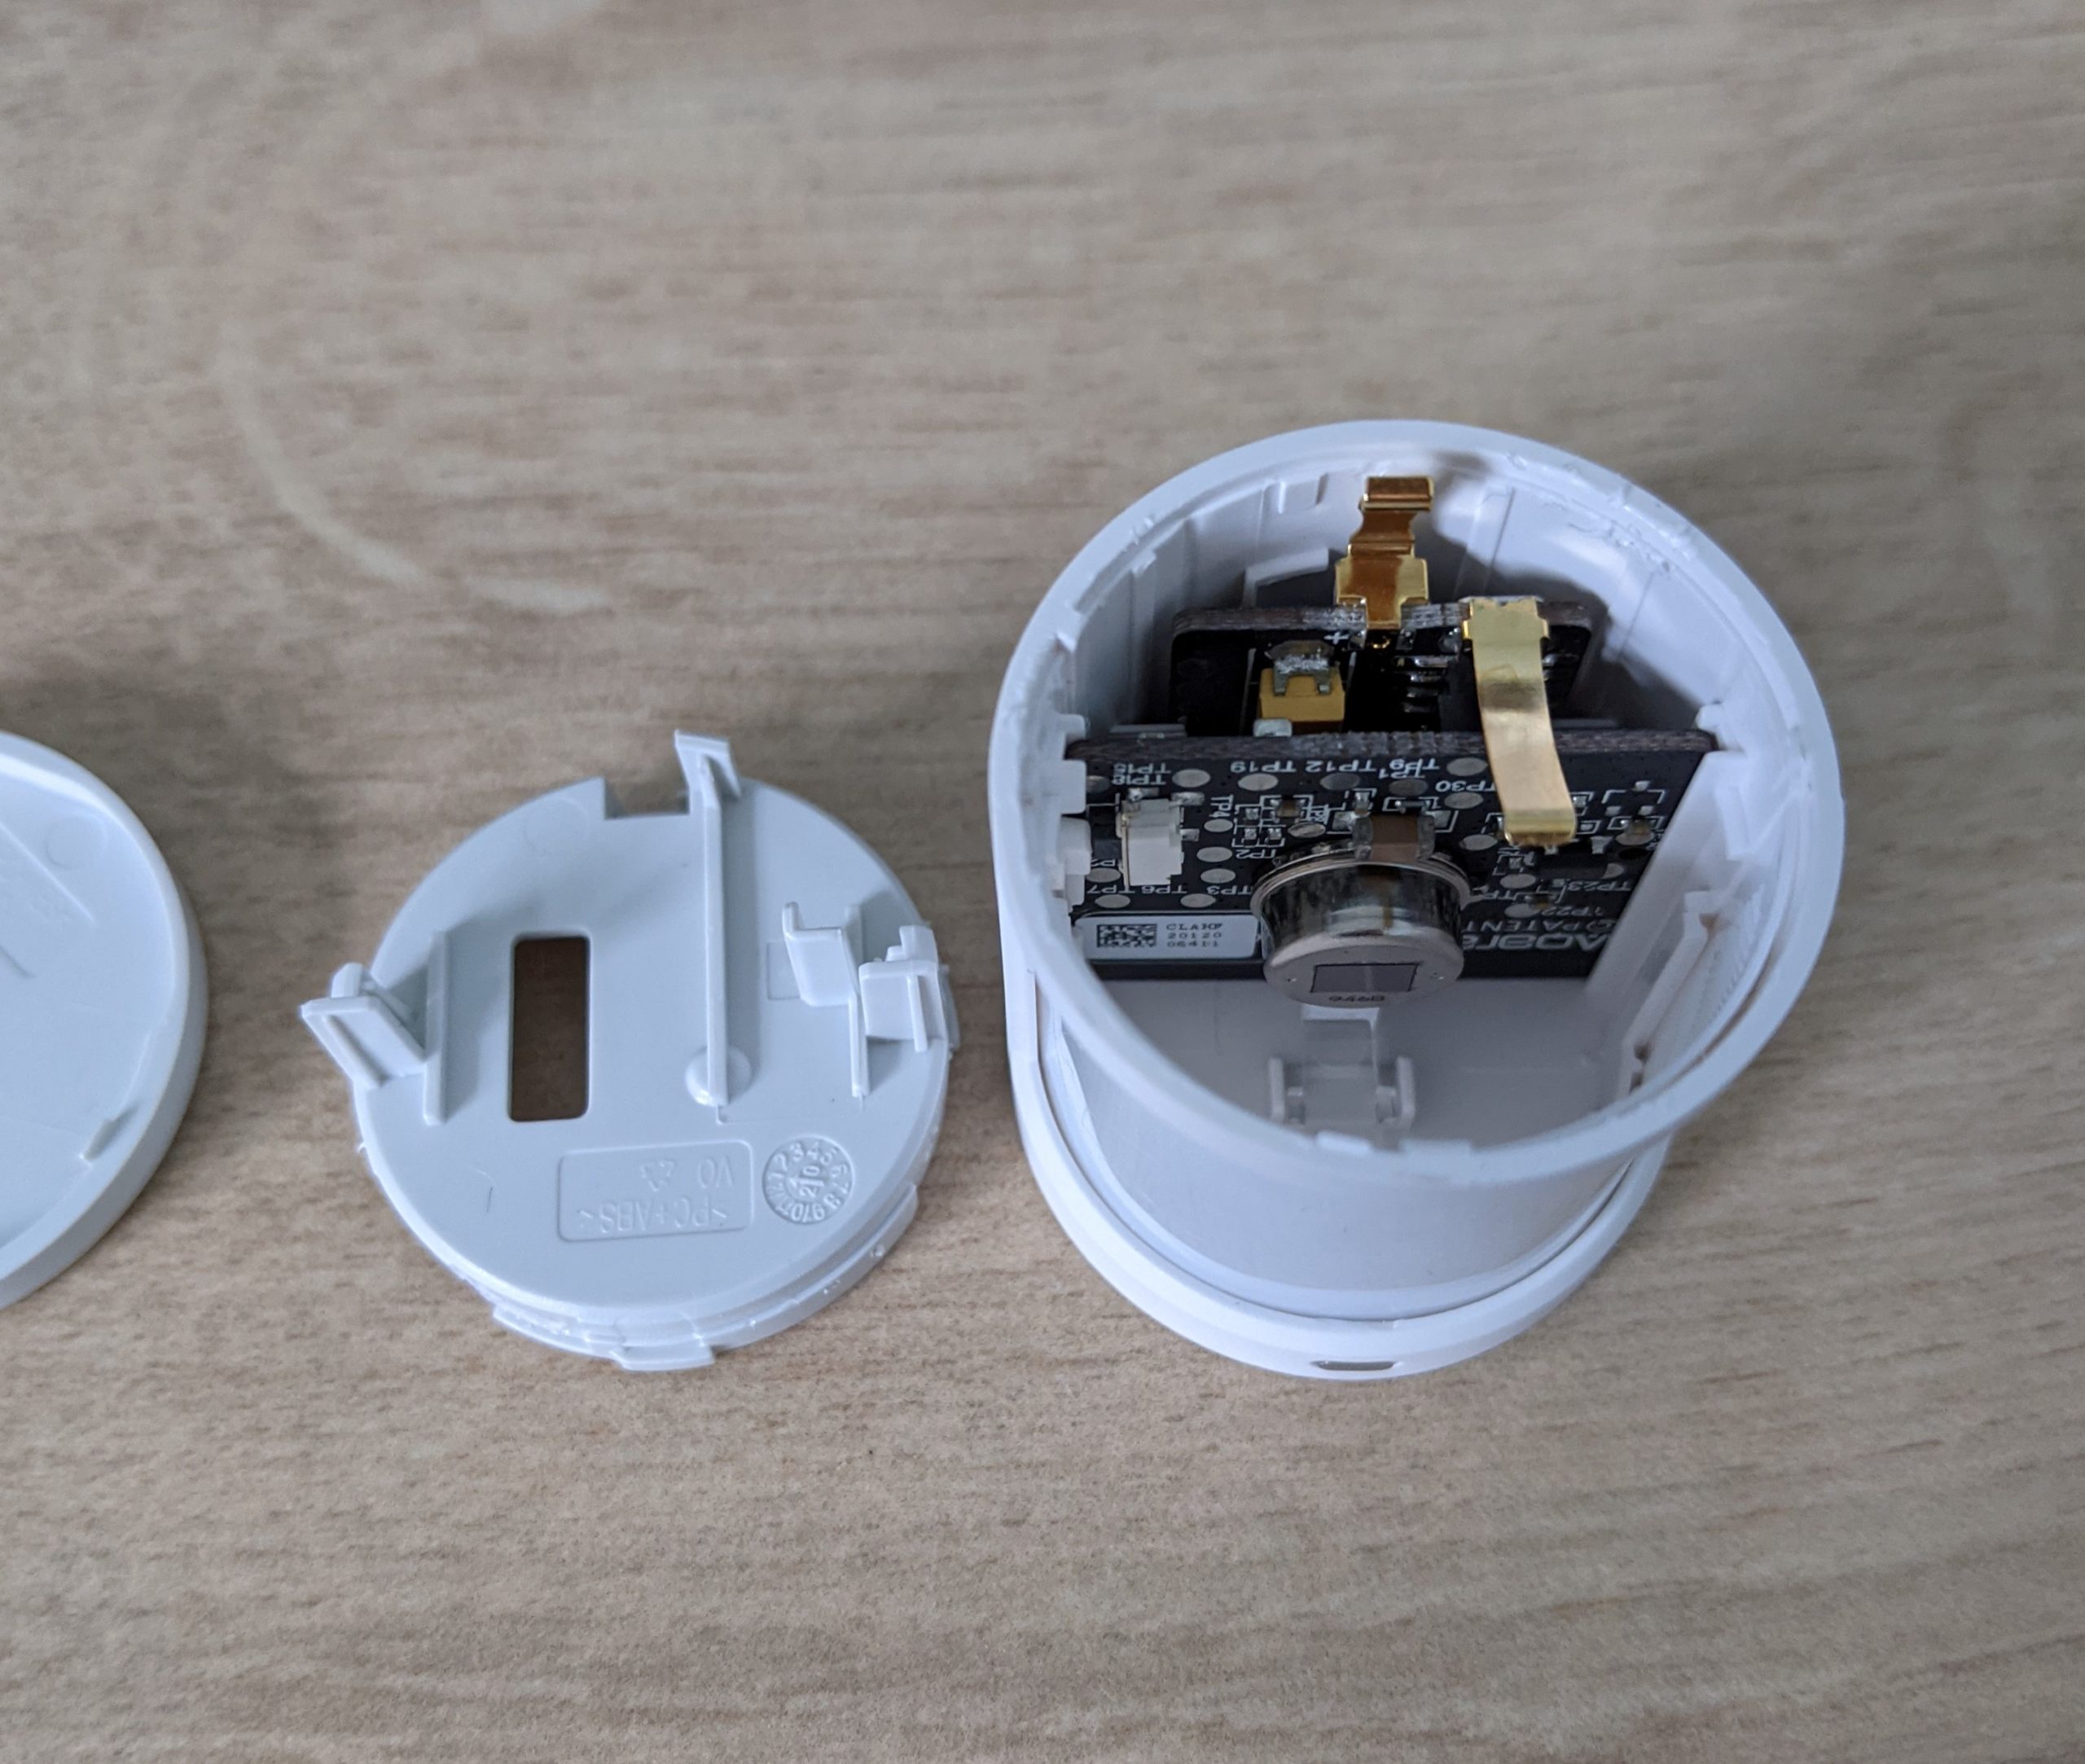
Taking out the battery holder and PCB
You will need to carefully take a sharp tool and pry around the battery holder casing. You are trying to release 3 clips so that the battery holder can be pulled out.
You will then see the PCB with the attached daughterboard. If you just pull on the battery clip, the PCBs will slide out
You can then pull apart the 2 PCBs as they are only joined together by a few pins
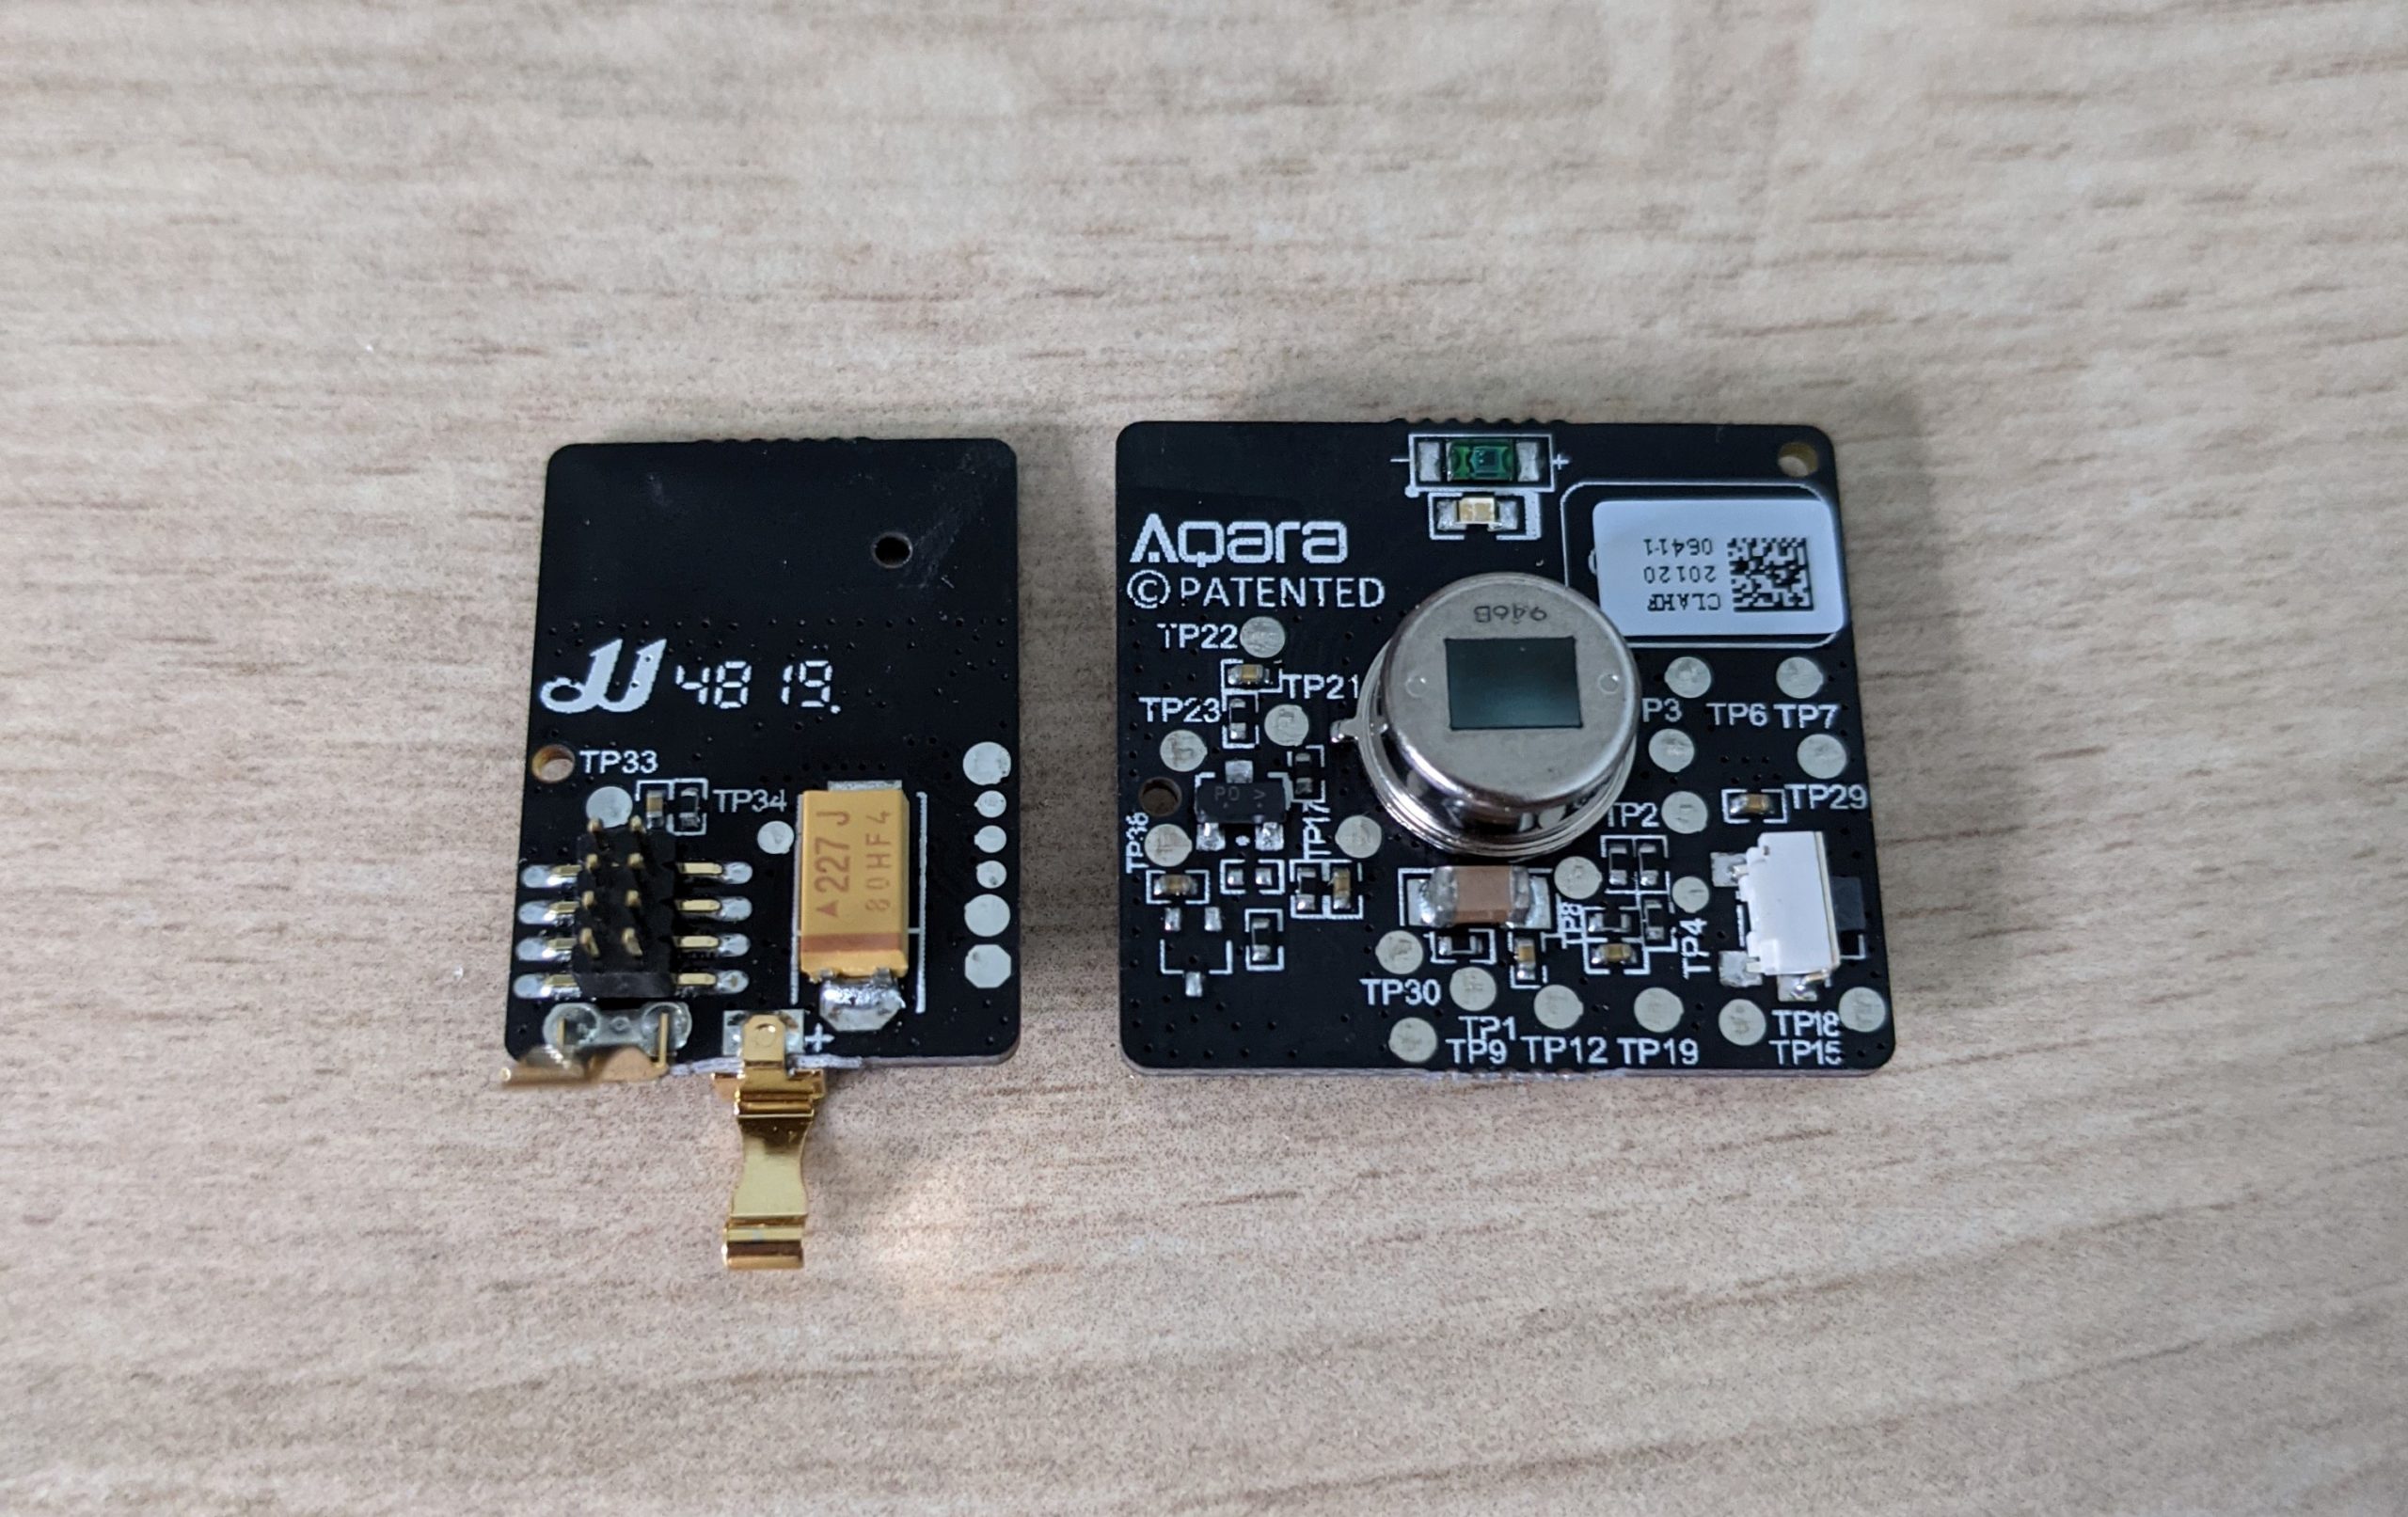
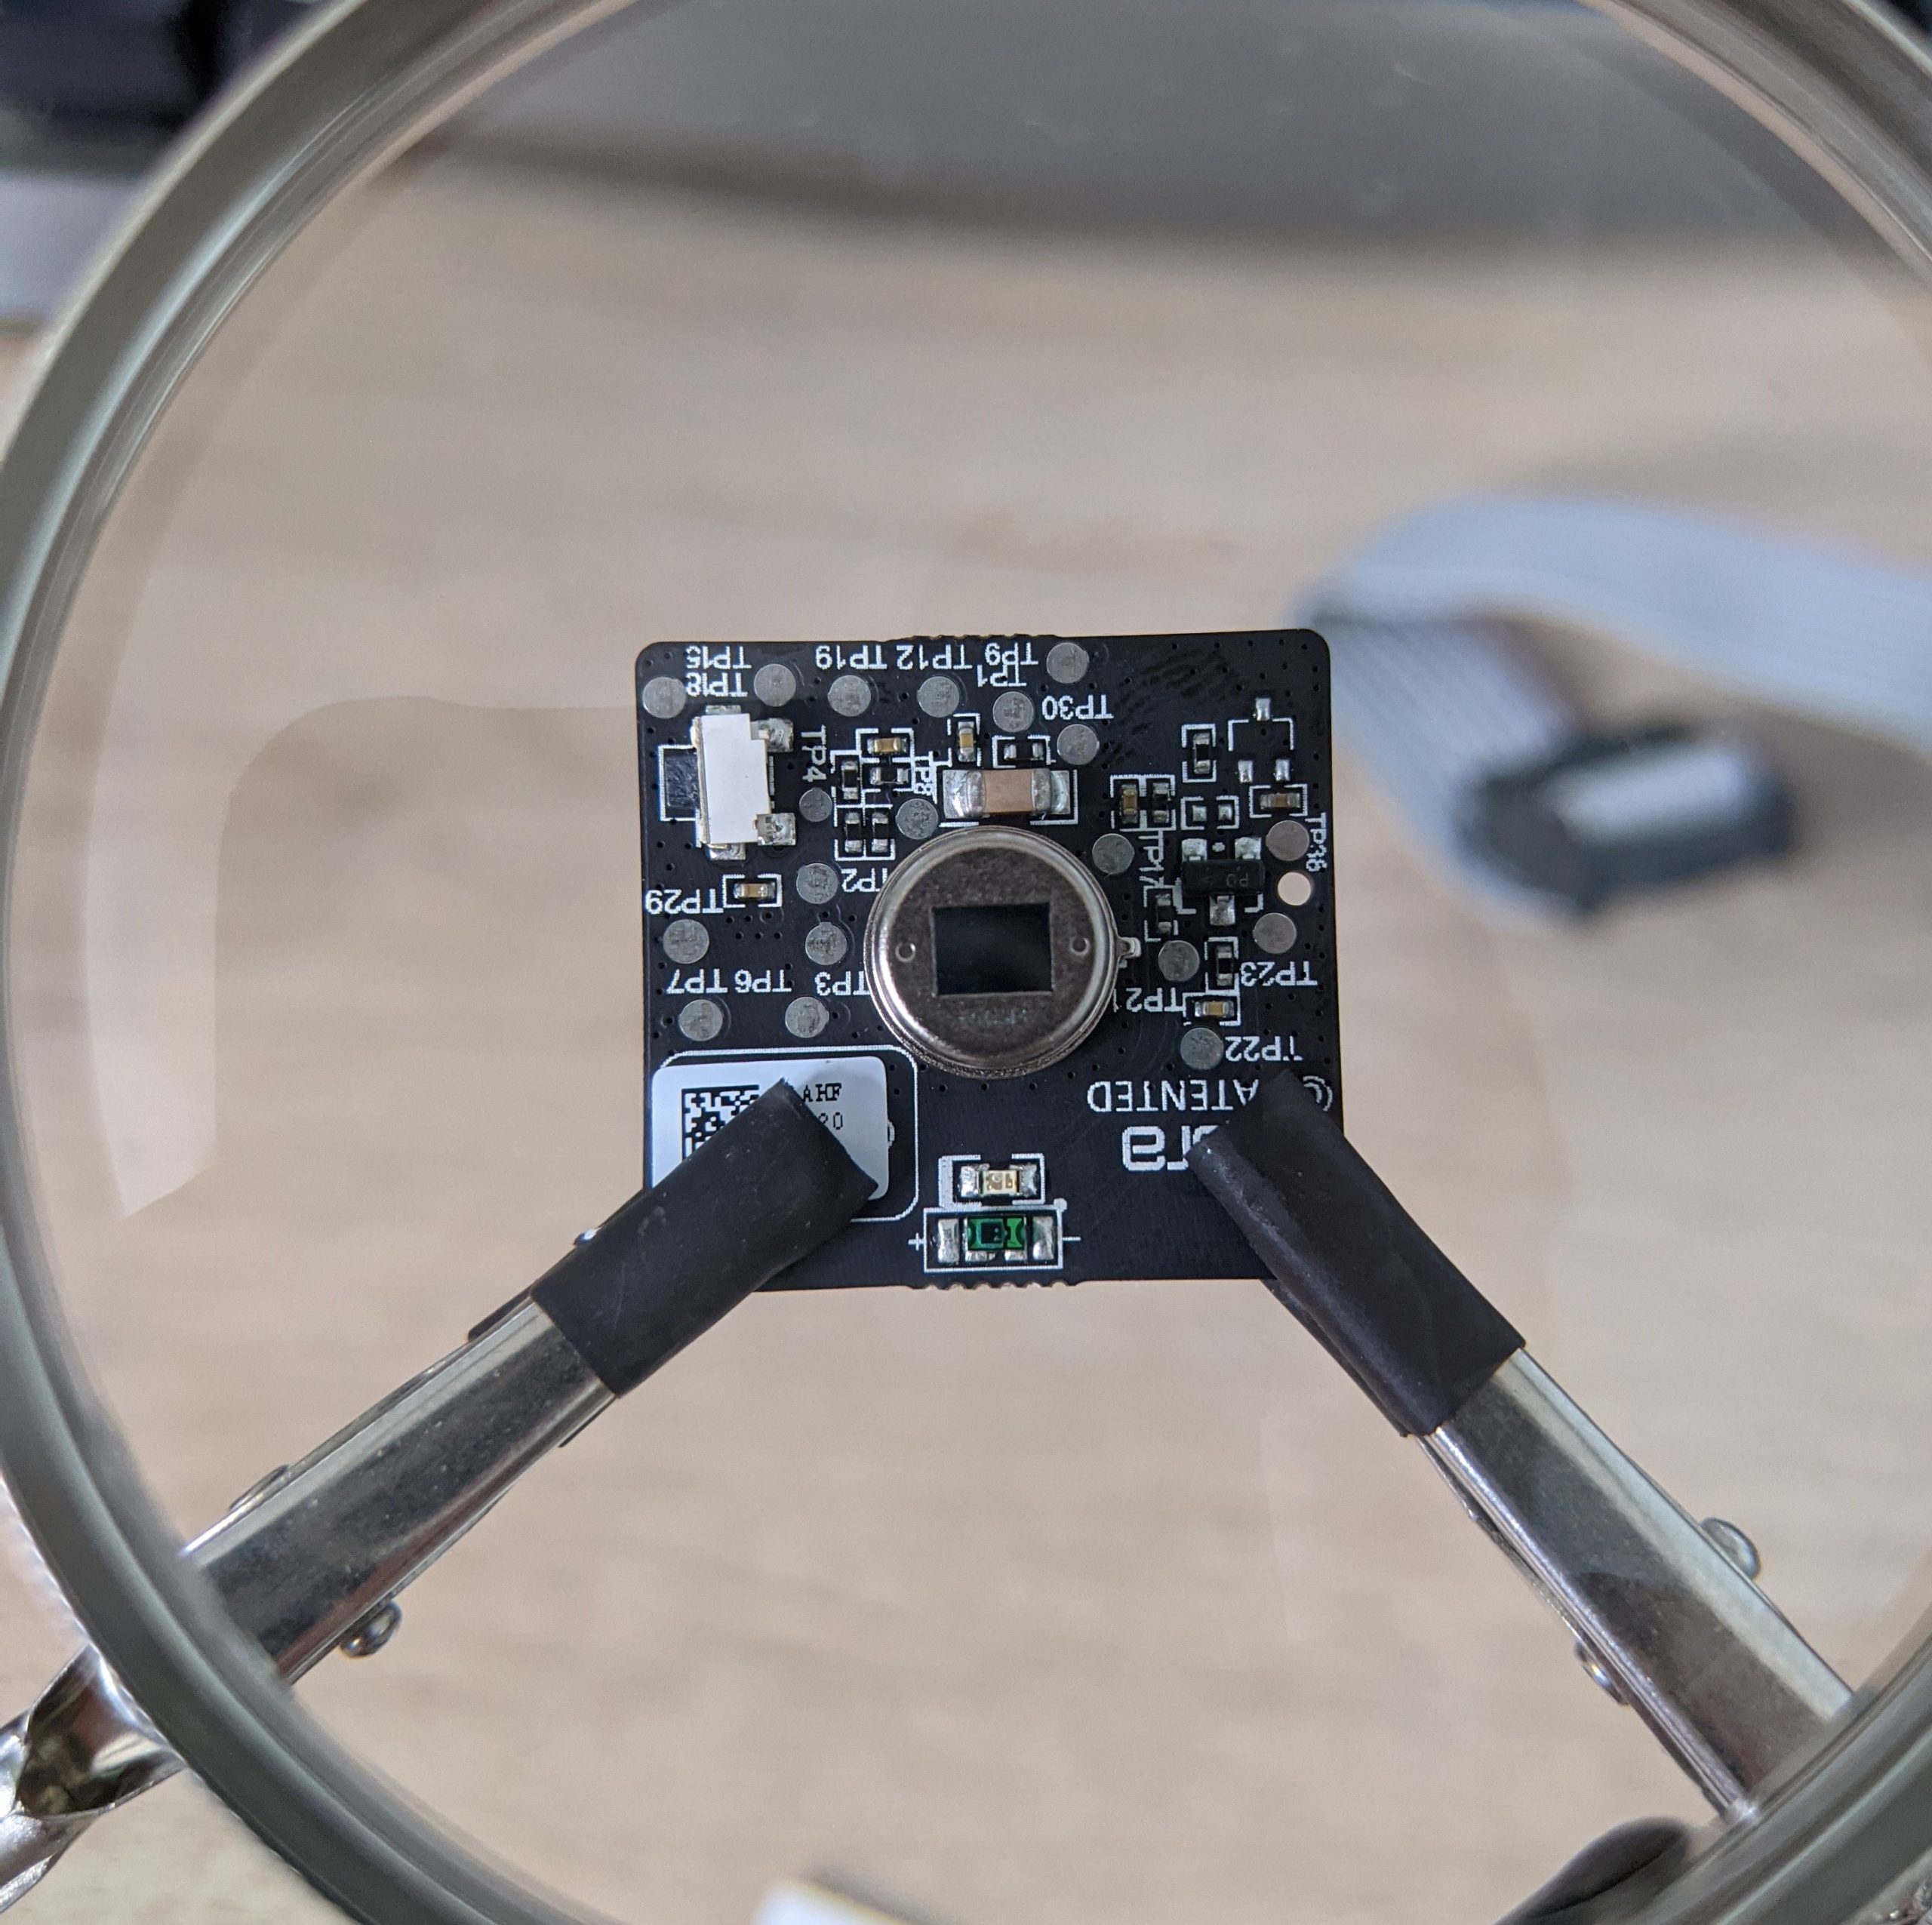
Preparing the PCB for soldering
Once you have the PCB’s seperated. We will be working on the board with “Aqara” written on it along with the actual IR sensor.
I then place the board on my helping hands.
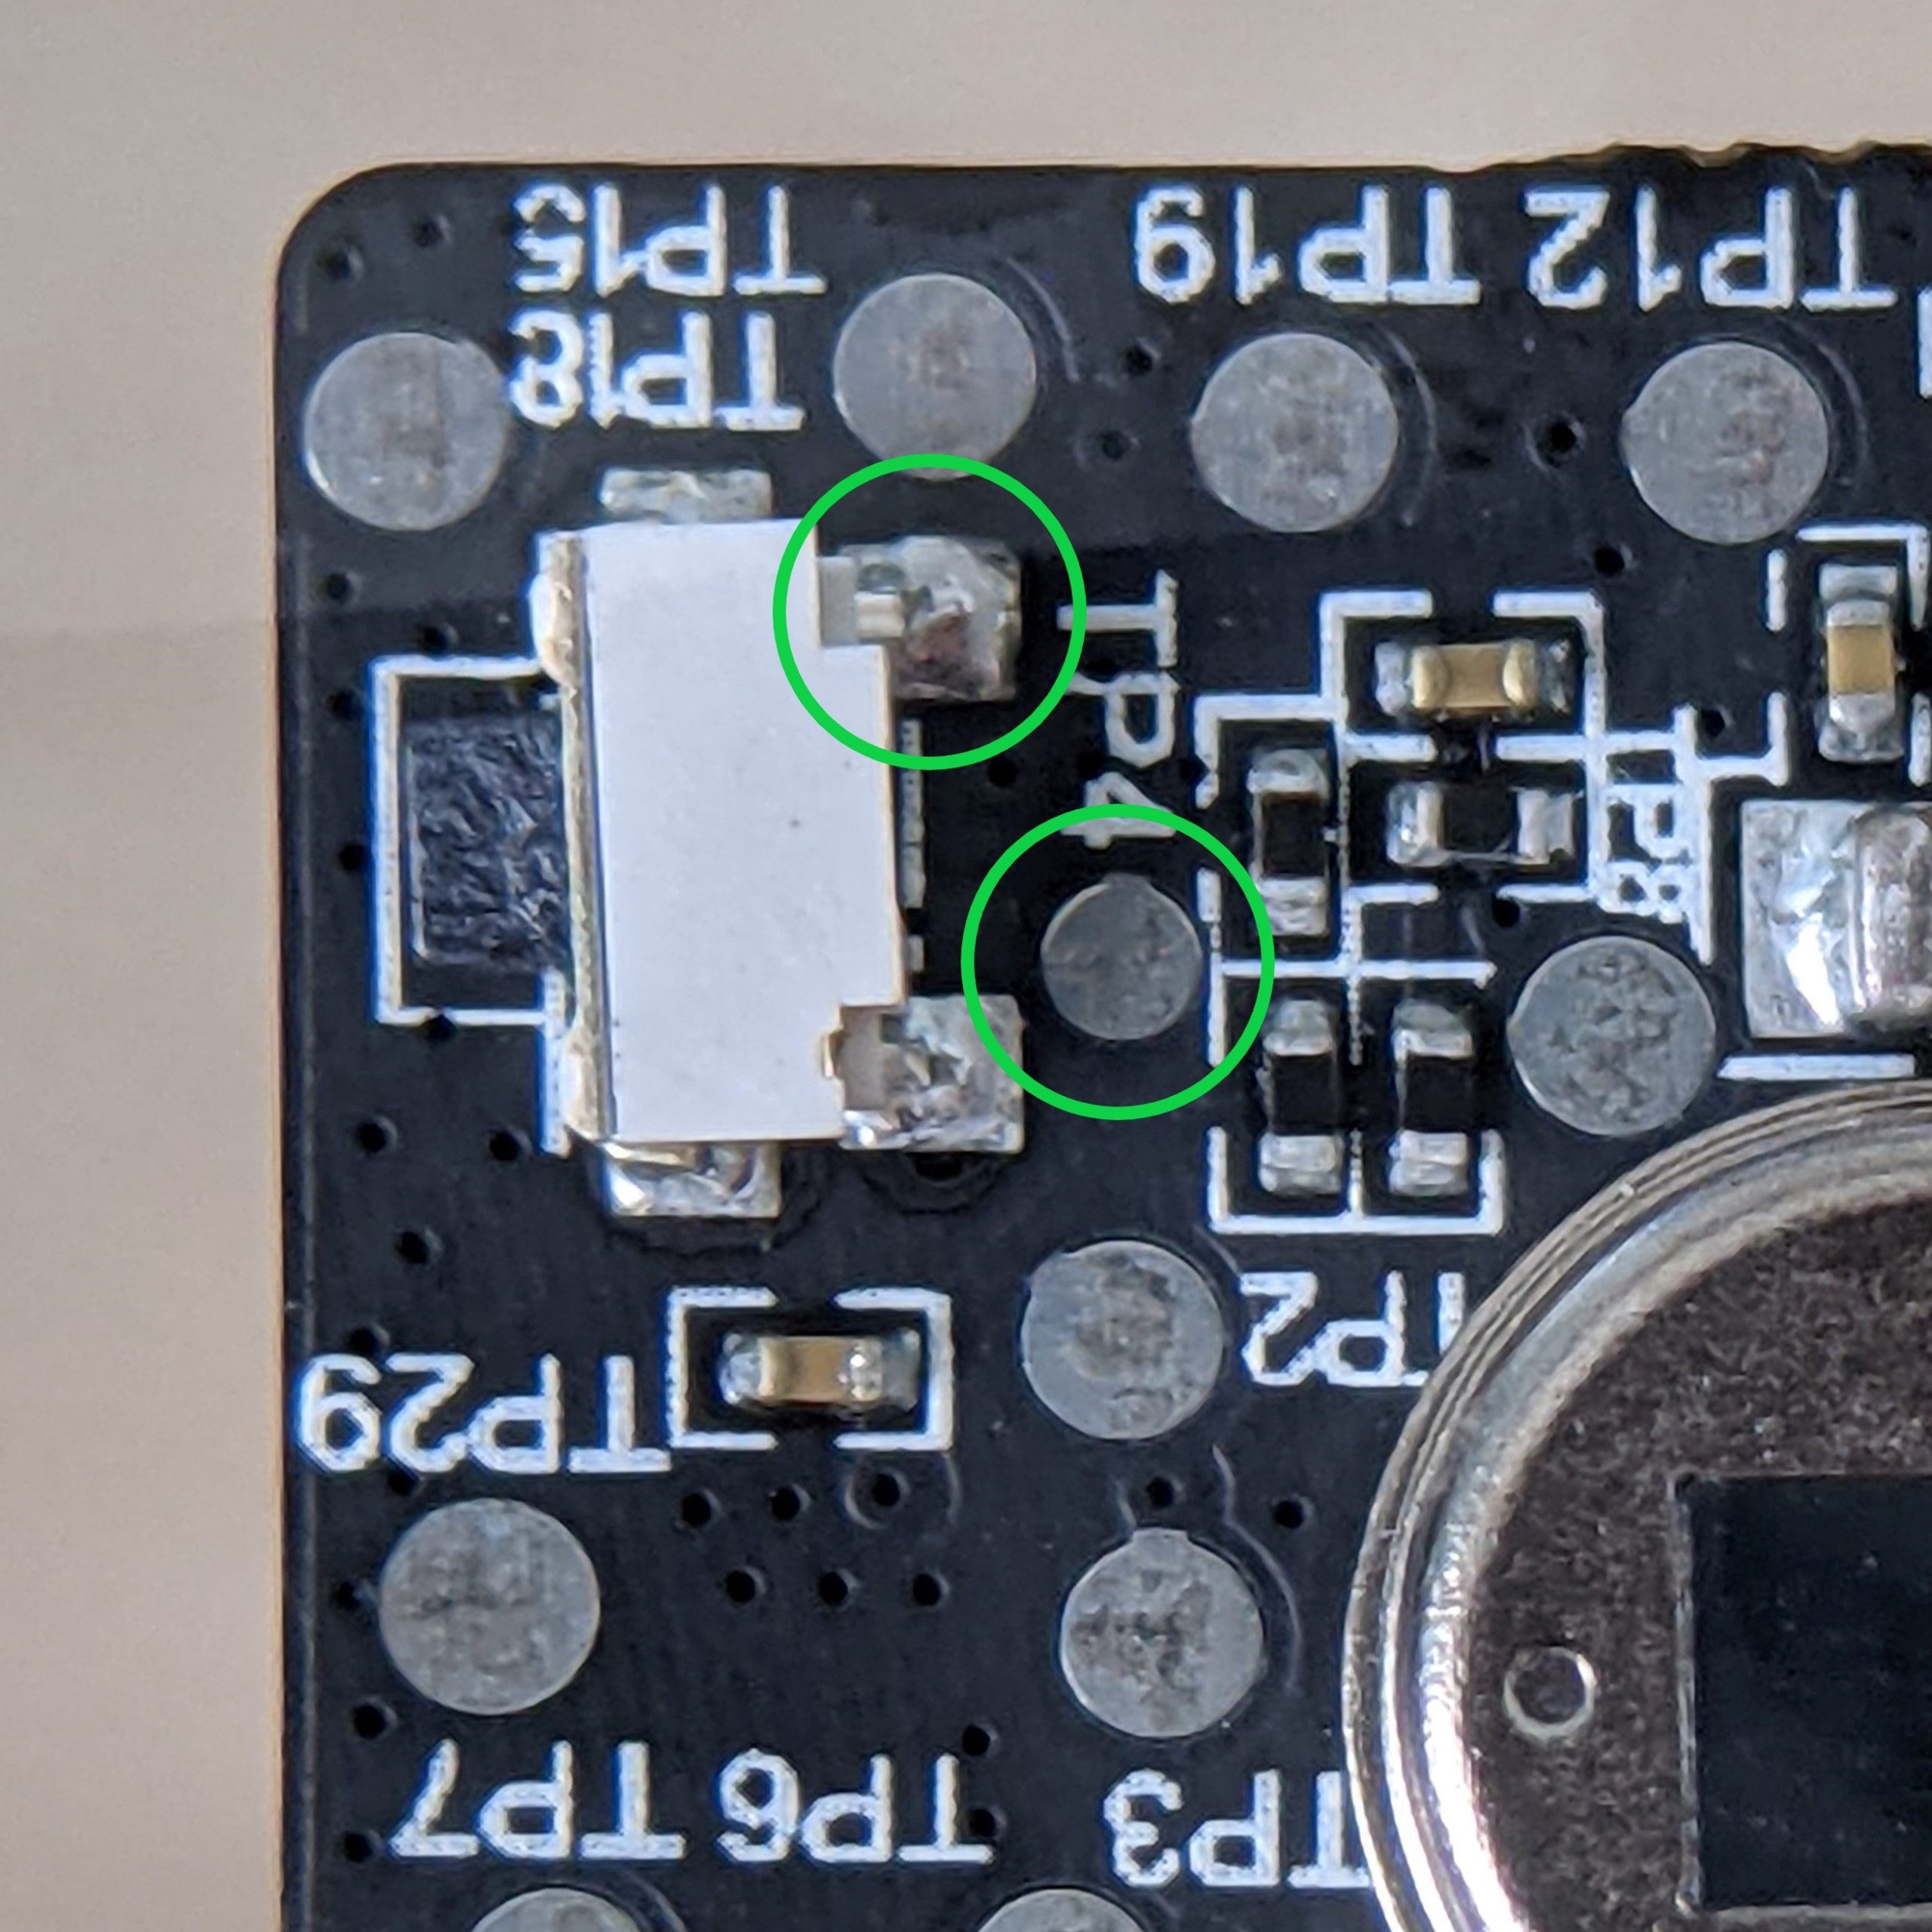
Identifying what we are going to solder
These are the terminals we are going to bridge. We are connecting a terminal from the reset button to TP4 causing an infinite restart loop which gives us a faster interval.
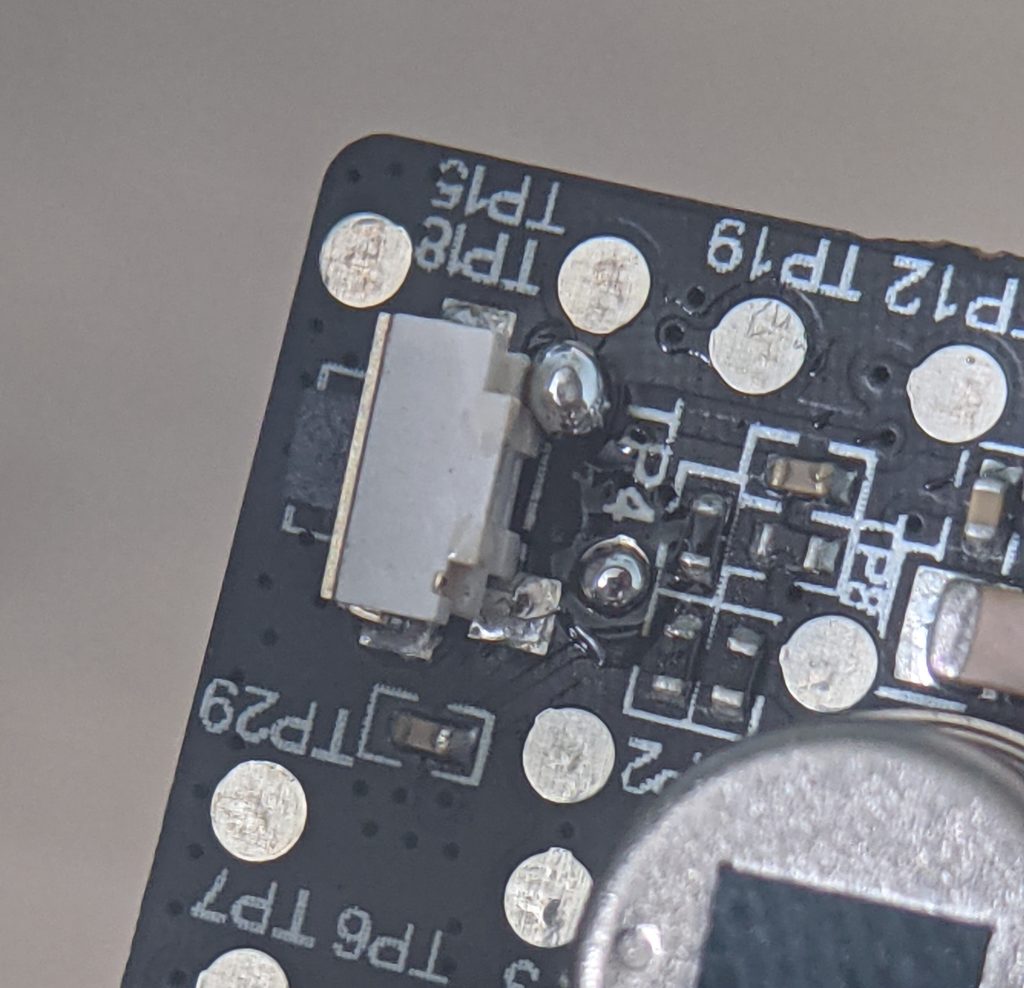
Adding pre-solder
Add a bit of solder to the 2 terminals so we can come back to it when we are ready to bridge them.
Remember, I am new to soldering so my work isn’t as neat as I would like.
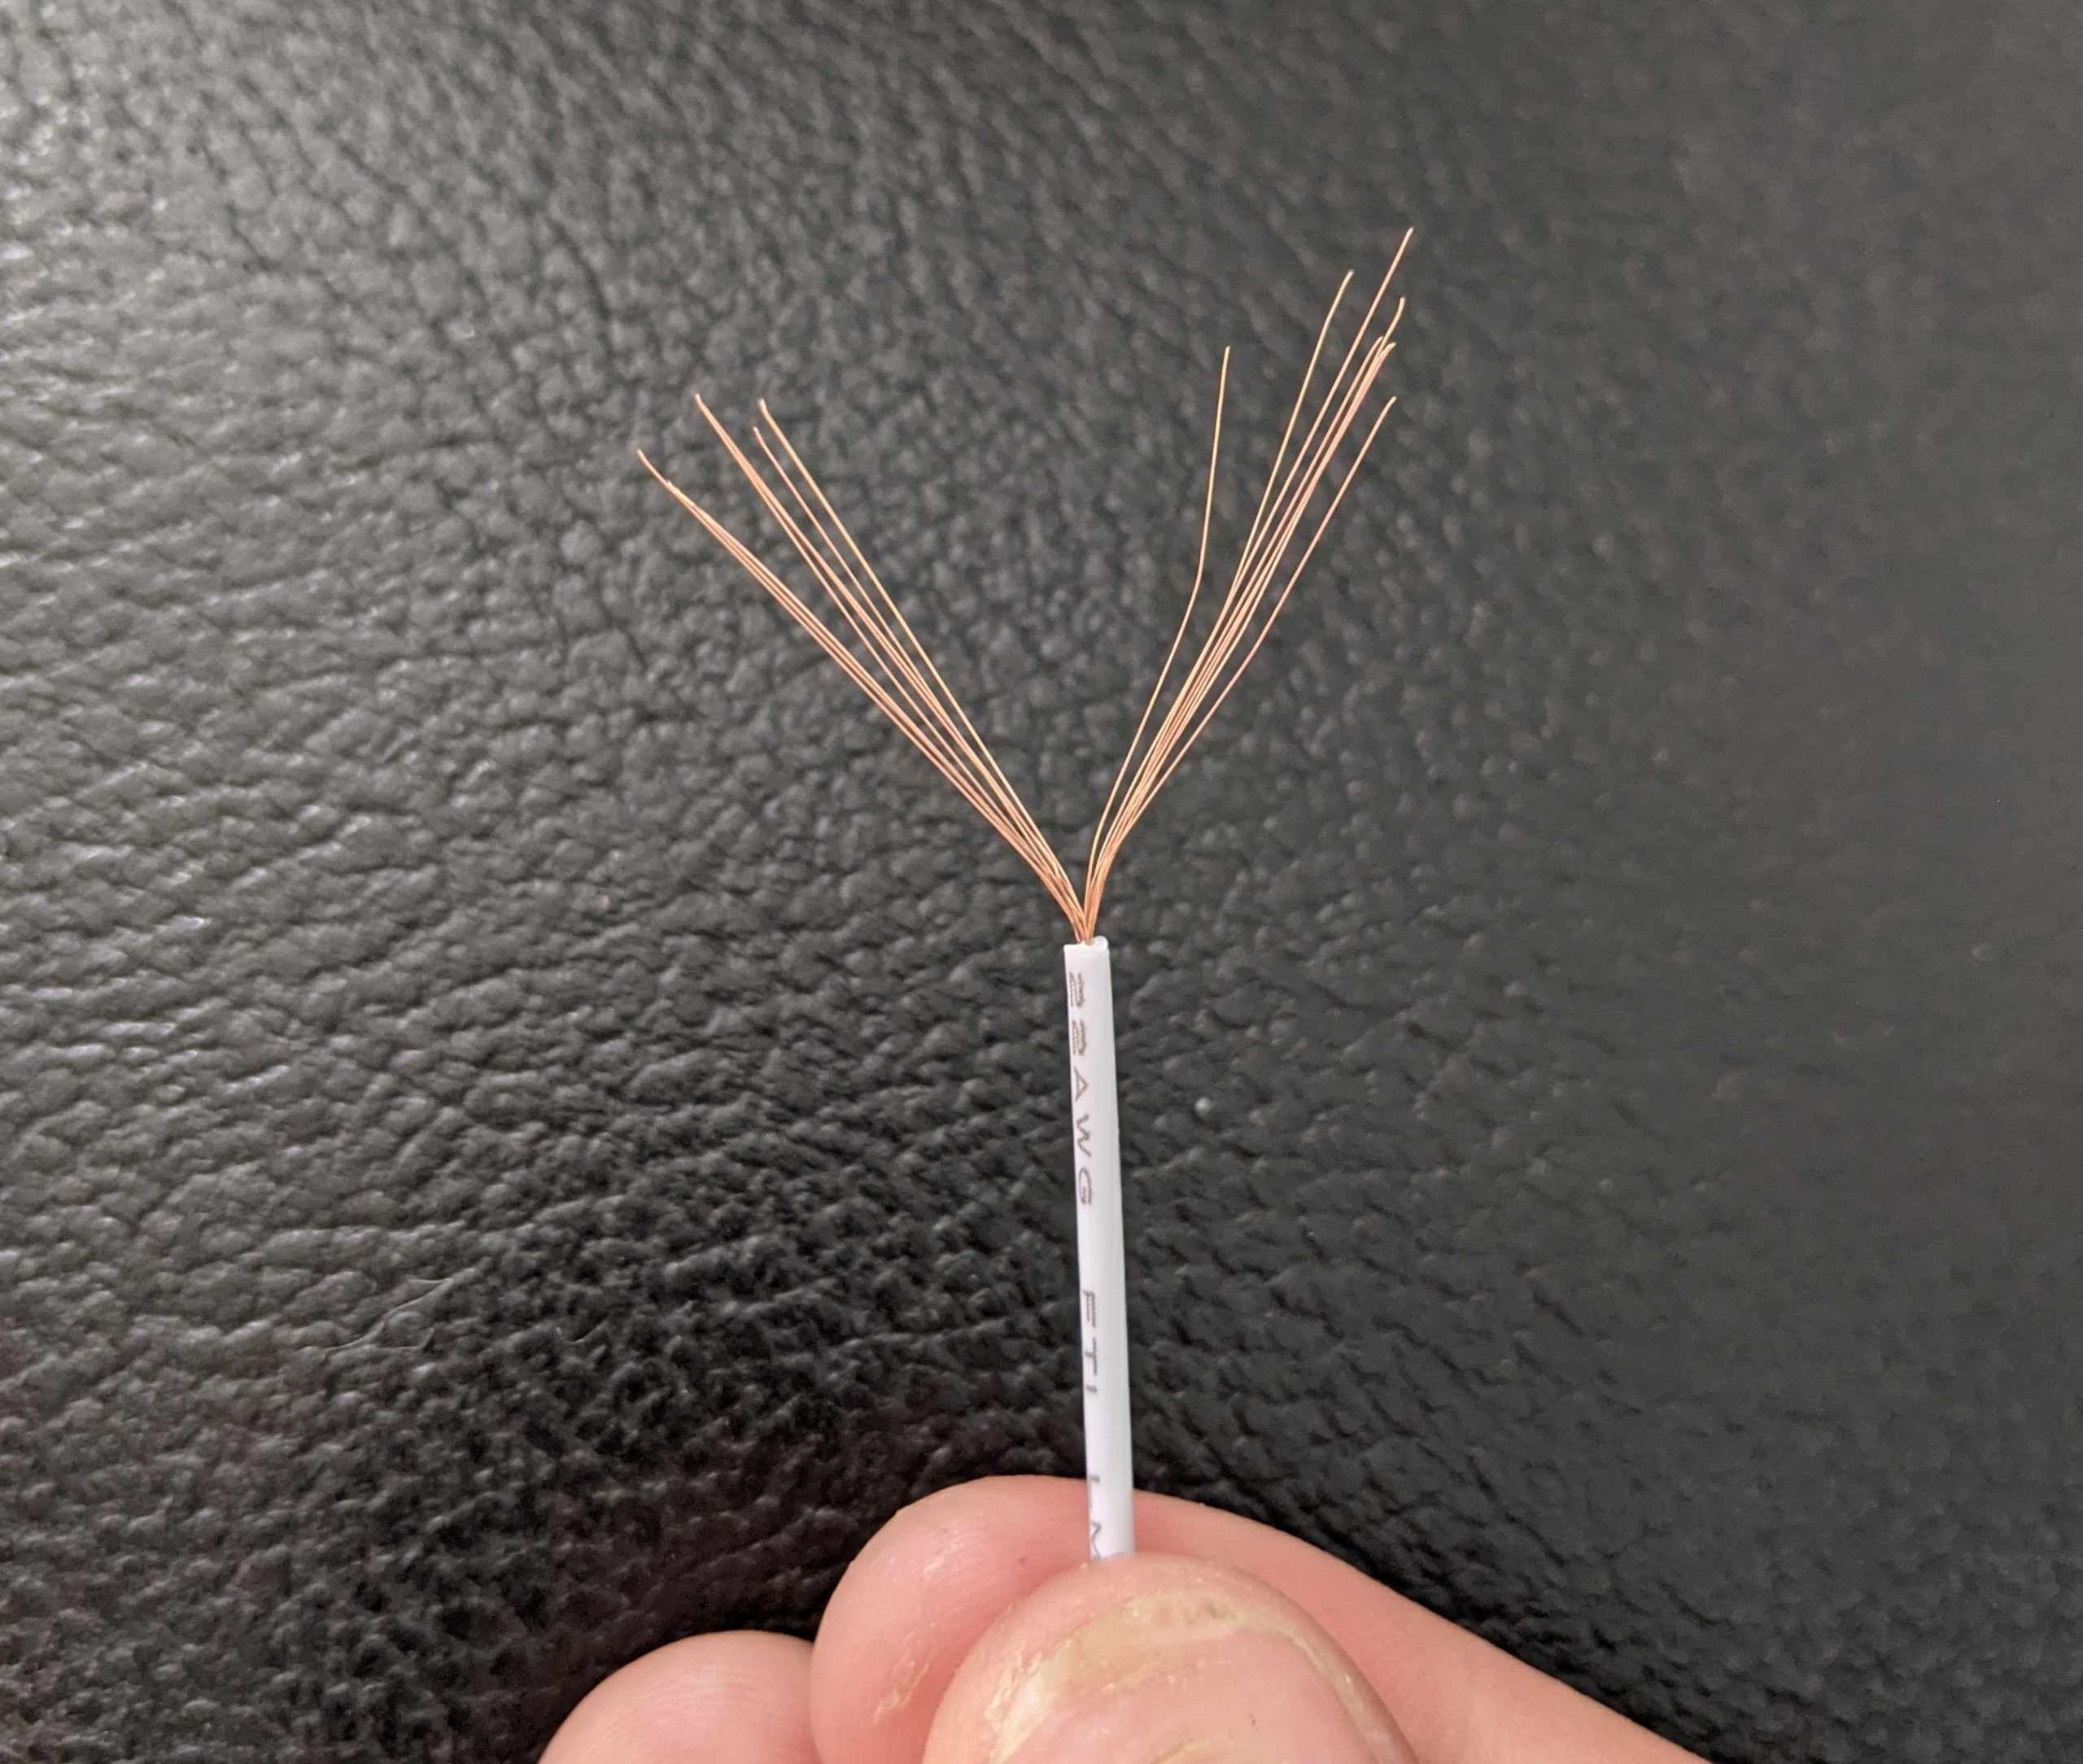
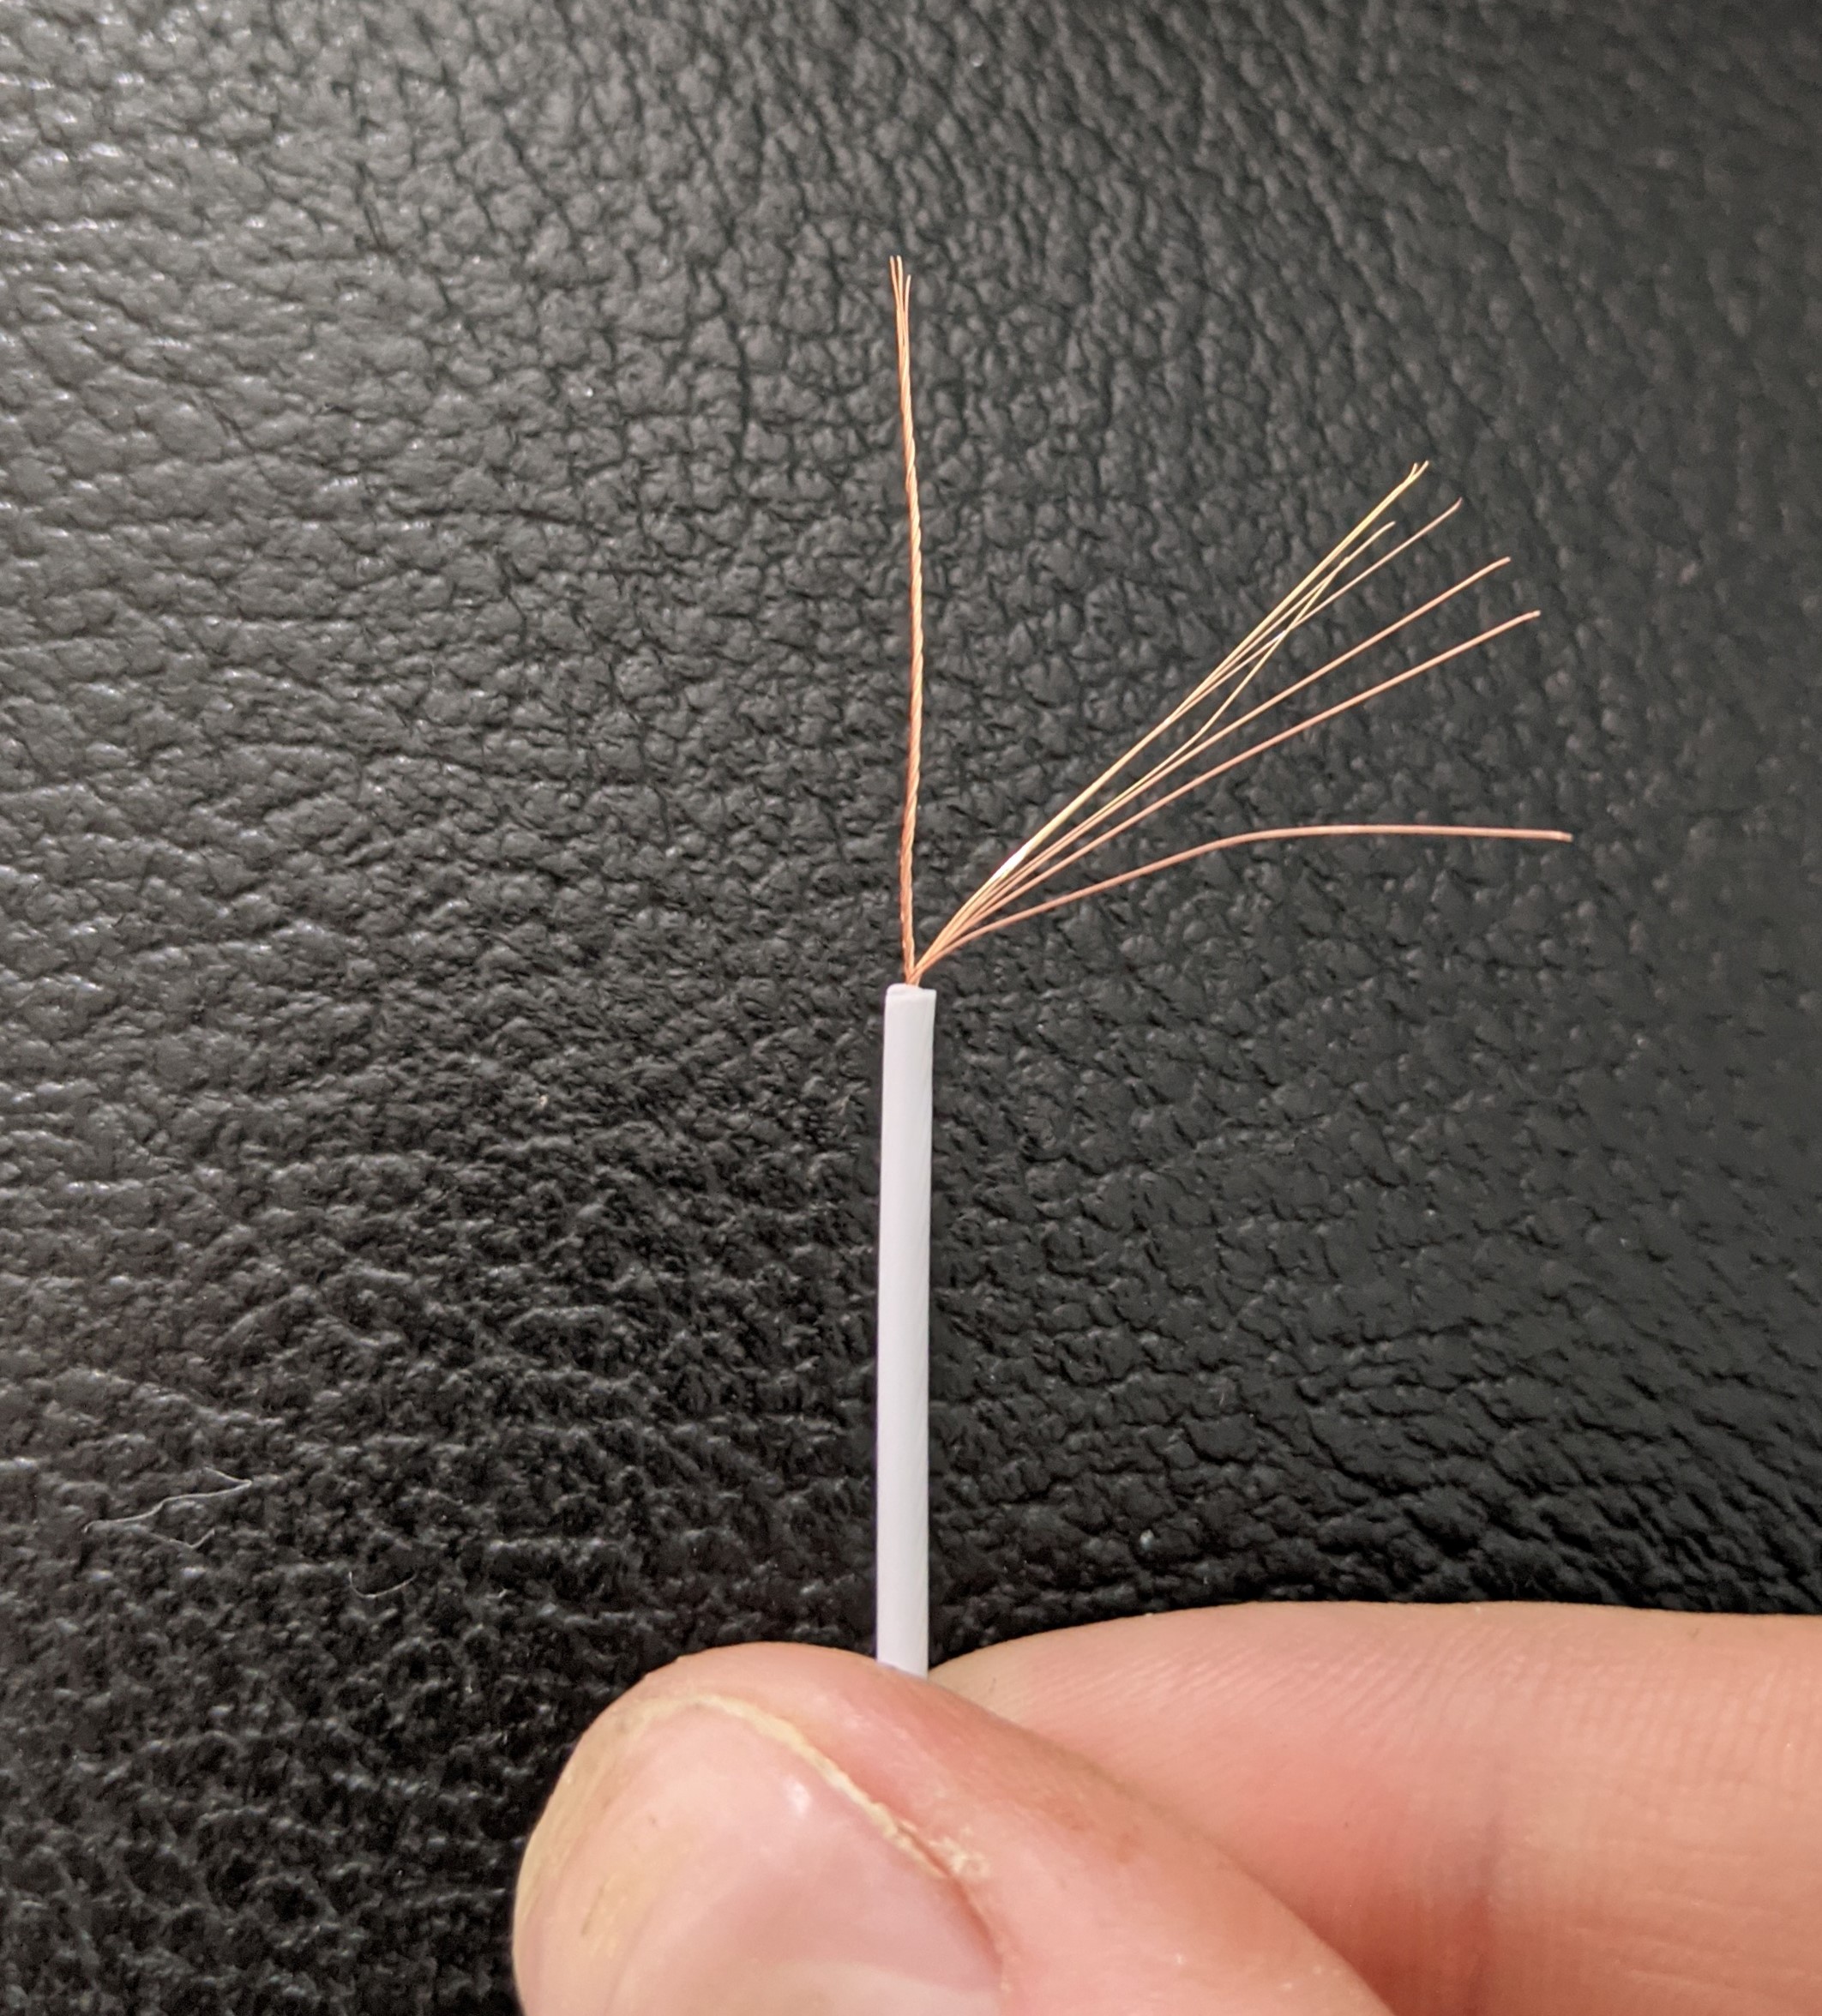

Finding suitable wire
For my modification, I stripped a wire from an old LED strip connector, took half of the copper wires and twisted them.
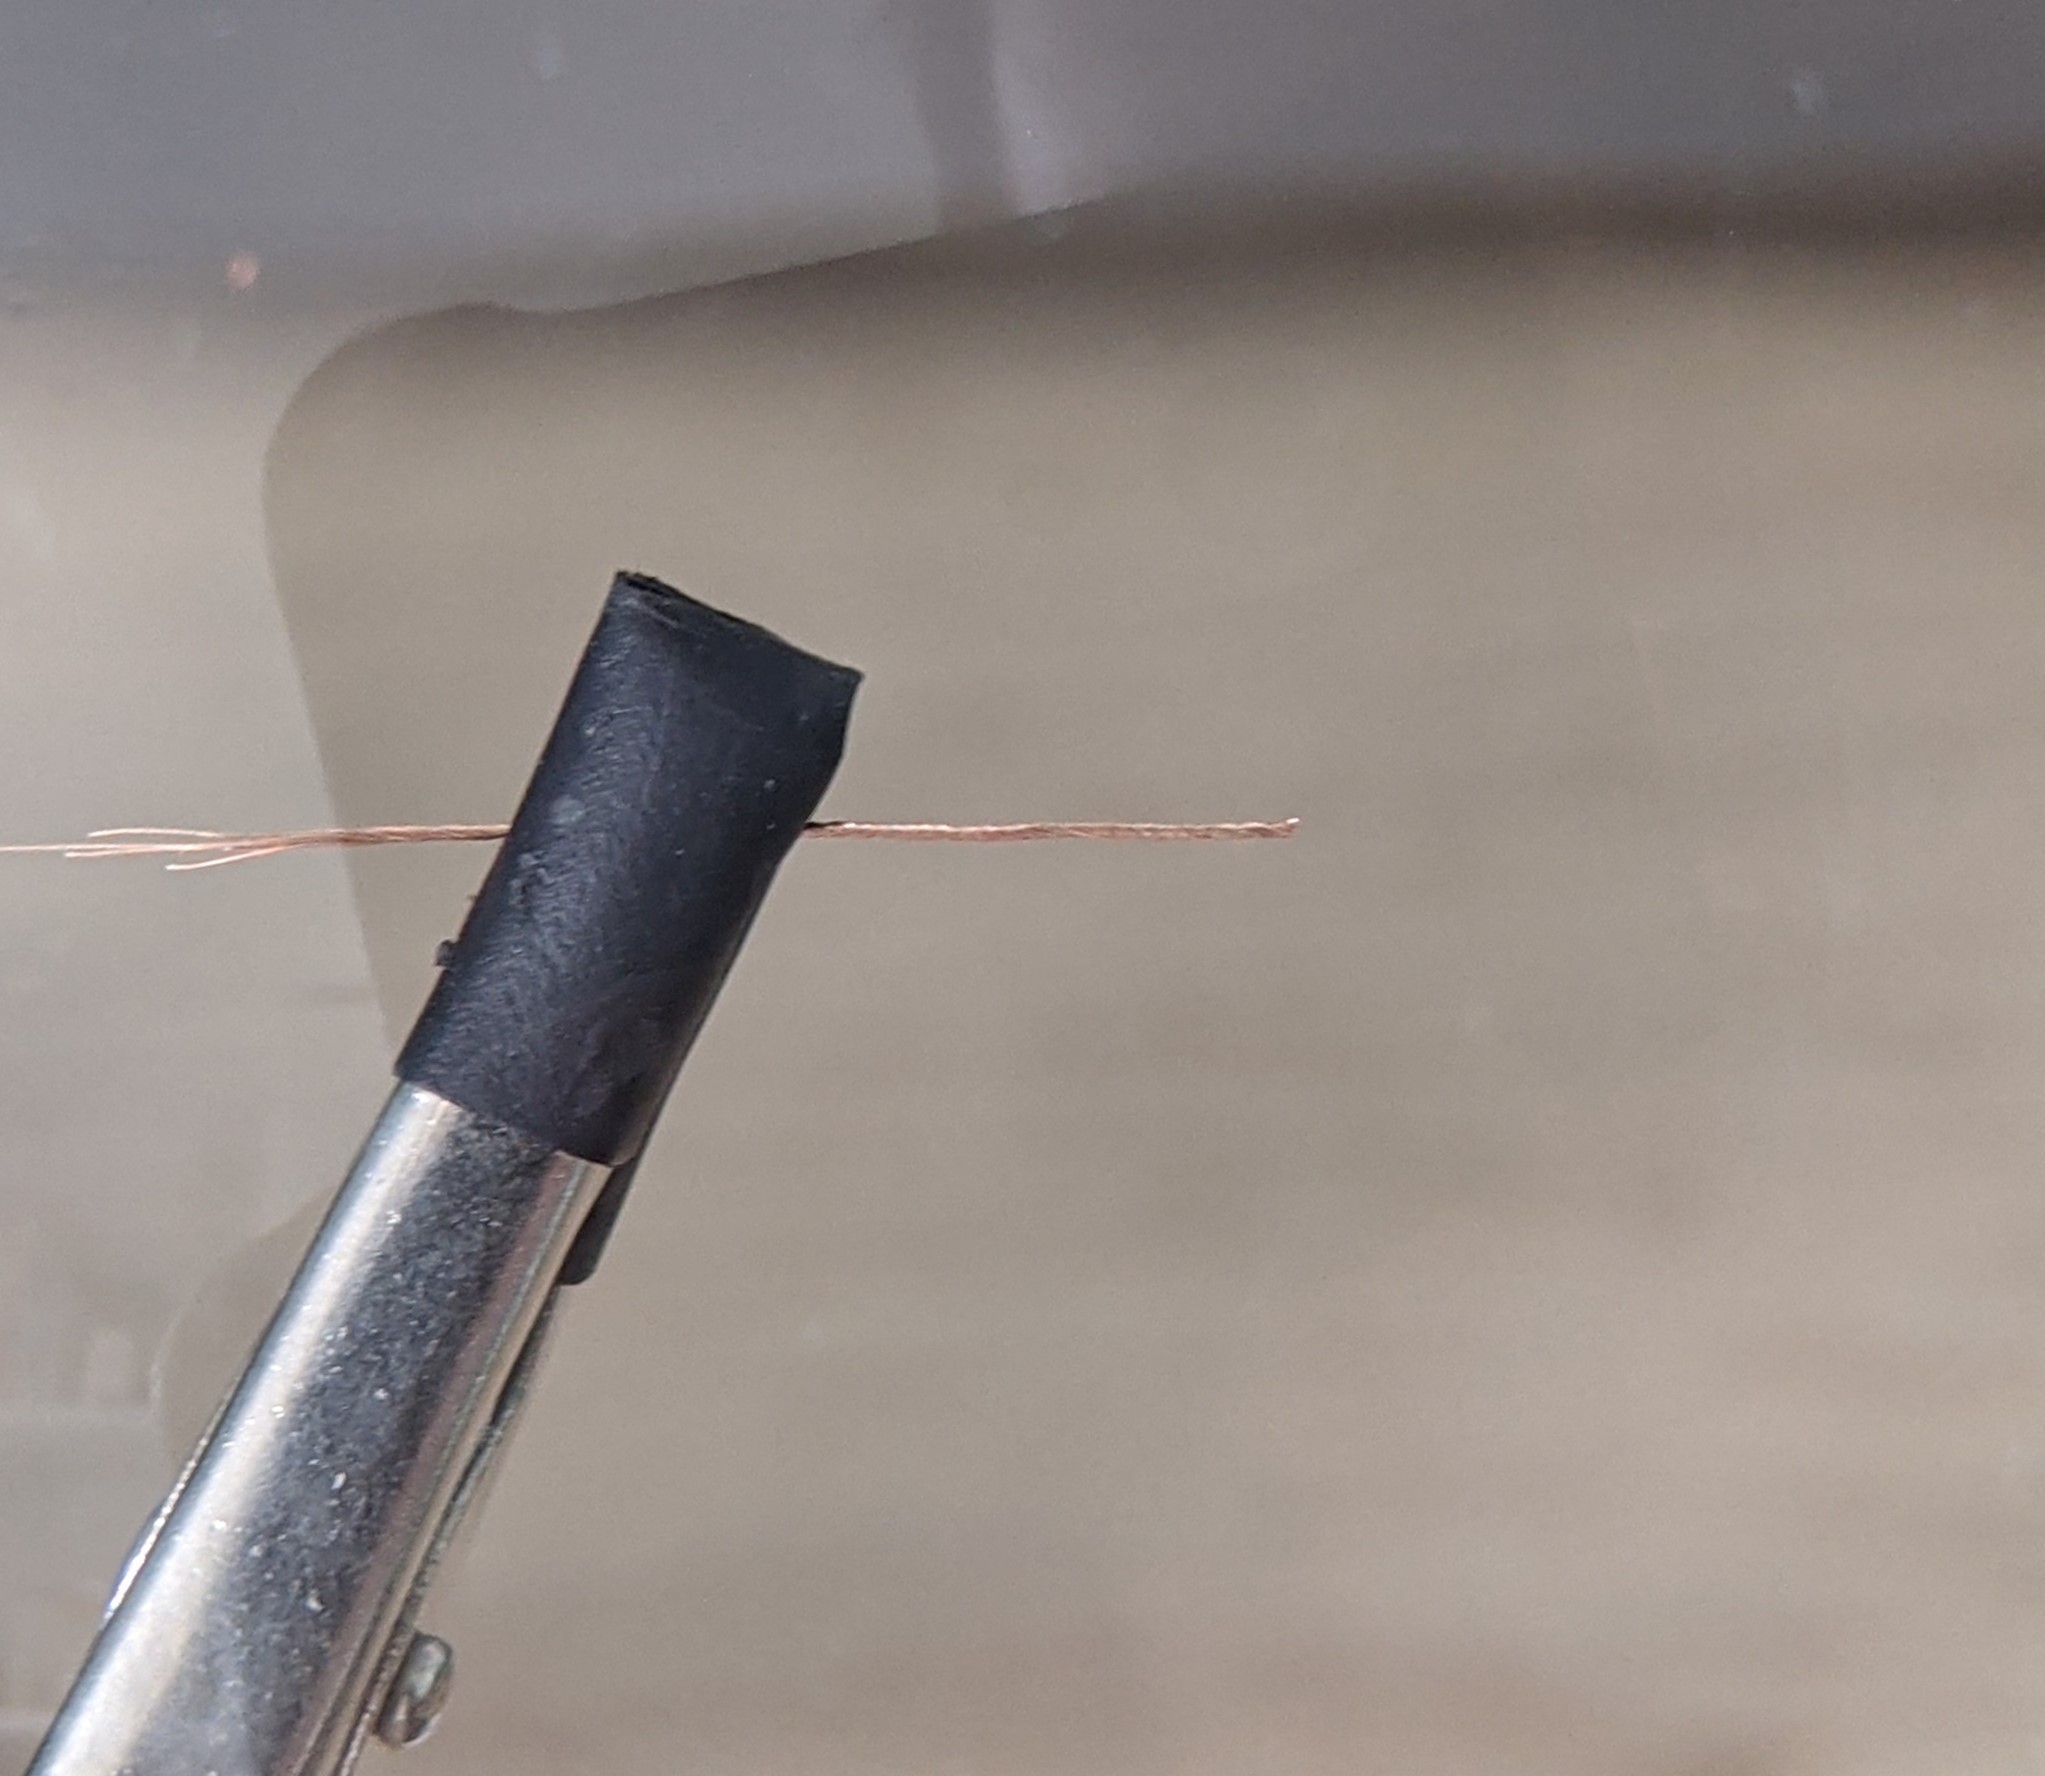
I then cut the twisted wire, put it in my helping hands and tinned it so it will flow better with the solder.
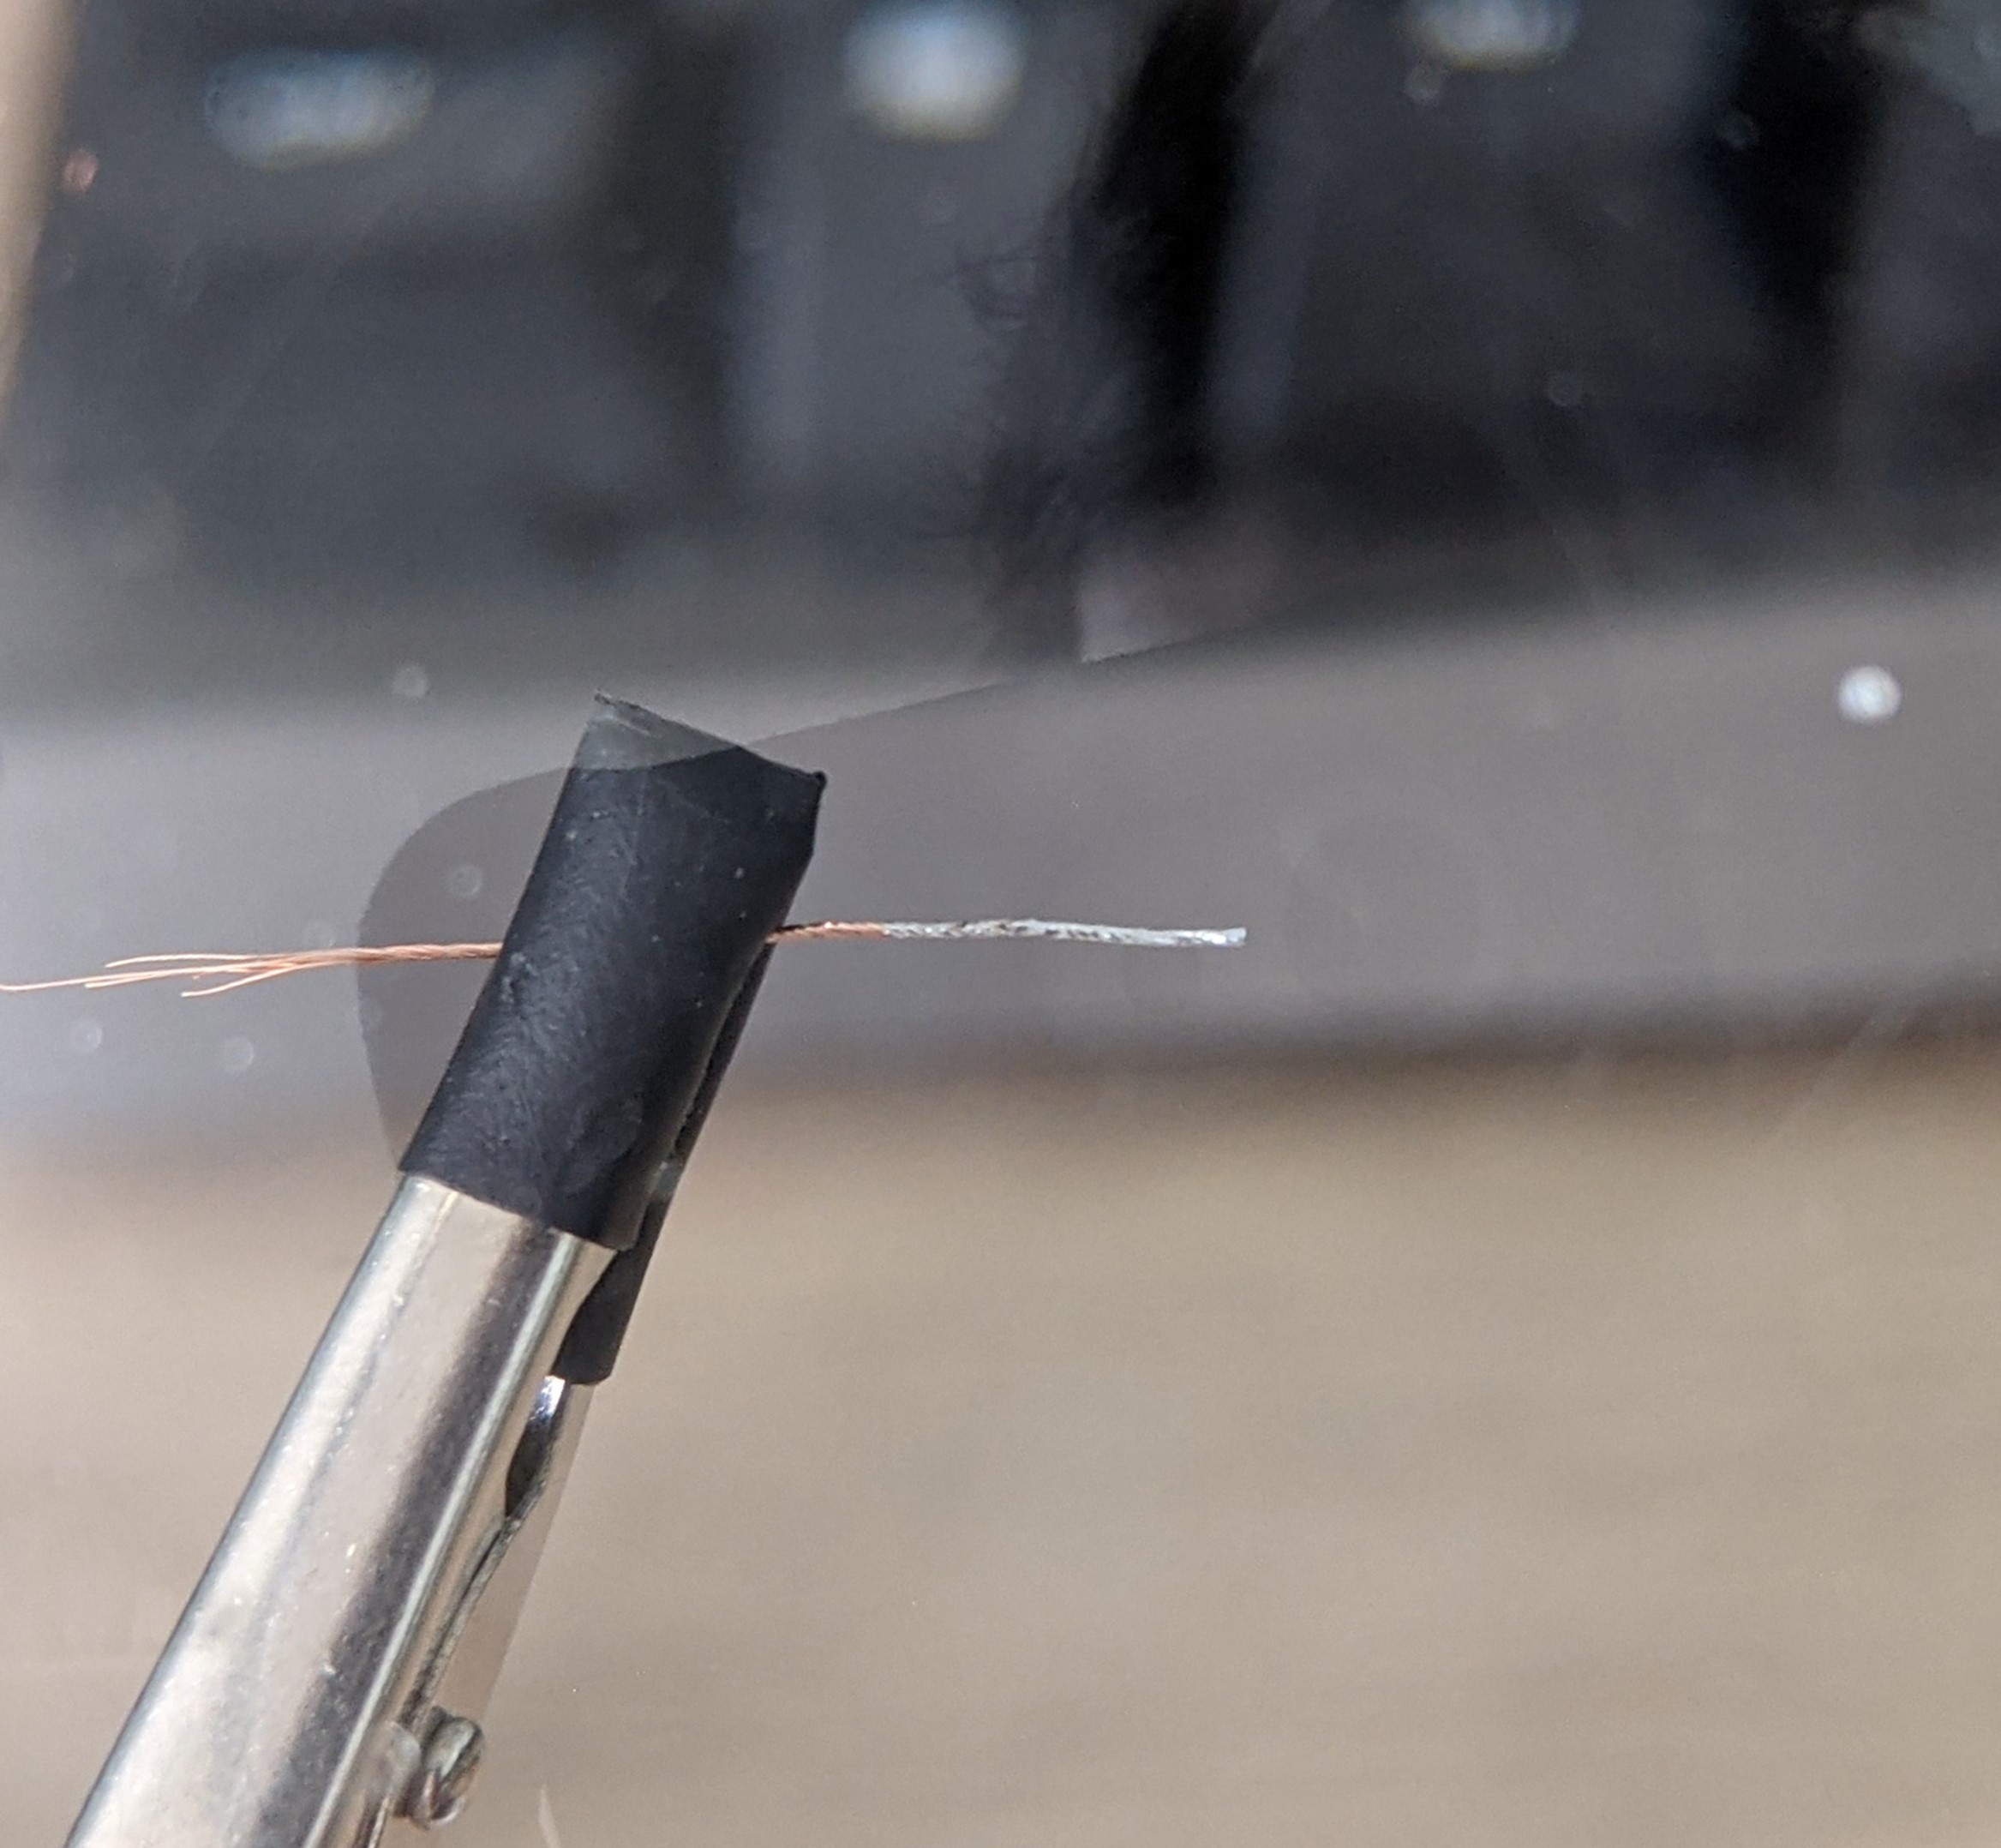
I then positioned it over the terminals ready to solder on
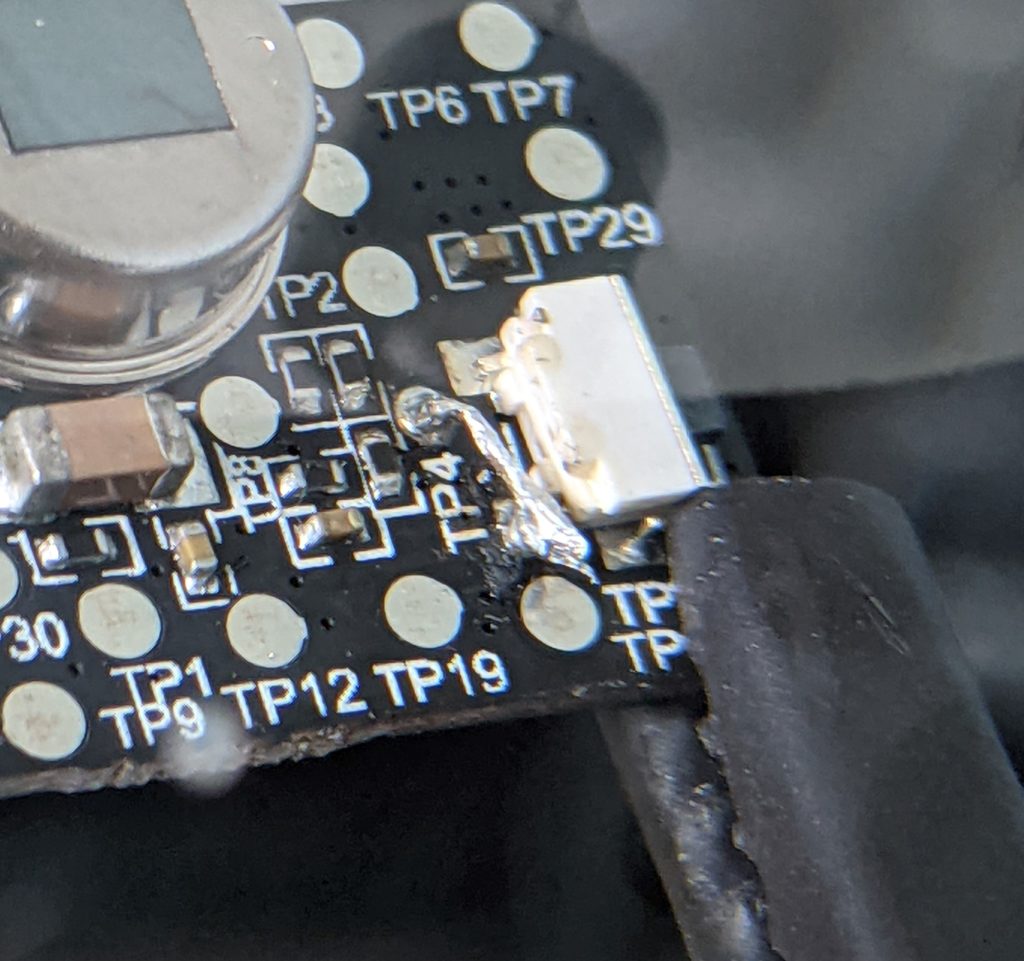
Soldering
I then soldered the cable on the 2 terminals, cutting off any excess.
Again, this isn’t as neat as I would like due to my lack of experience
Zigbee2MQTT Configuration
Note: If you are using Zigbee2MQTT like I am, you will need to go into the Zigbee2MQTT configuration file (found here: /opt/zigbee2mqtt/data/configuration.yaml), identifying the device and adding occupancy_timeout: 5 as an option under the device identifier (example below)

Then restart the Zigbee2MQTT service and you’re all done!
Done!
That’s it! All you need to do now is put the Motion sensor back together in the same way we disassembled it, and the motion timeout should be around 5 seconds now.
Appreciate this. Where did you get the PCB board details from? I’m interested in adding an antenna to one of my own, but haven’t the slightest idea where to add it!
I first discovered the hack here: https://community.smartthings.com/t/making-xiaomi-motion-sensor-a-super-motion-sensor/139806
Quite interested as to why you want to add an antenna? Is your device out of range?